To be honest I built this keyboard the last summer, I took pictures with the idea of documenting the process in a post but I never felt like it, until now, and now I obviously forgot a lot of details I wanted to write down.
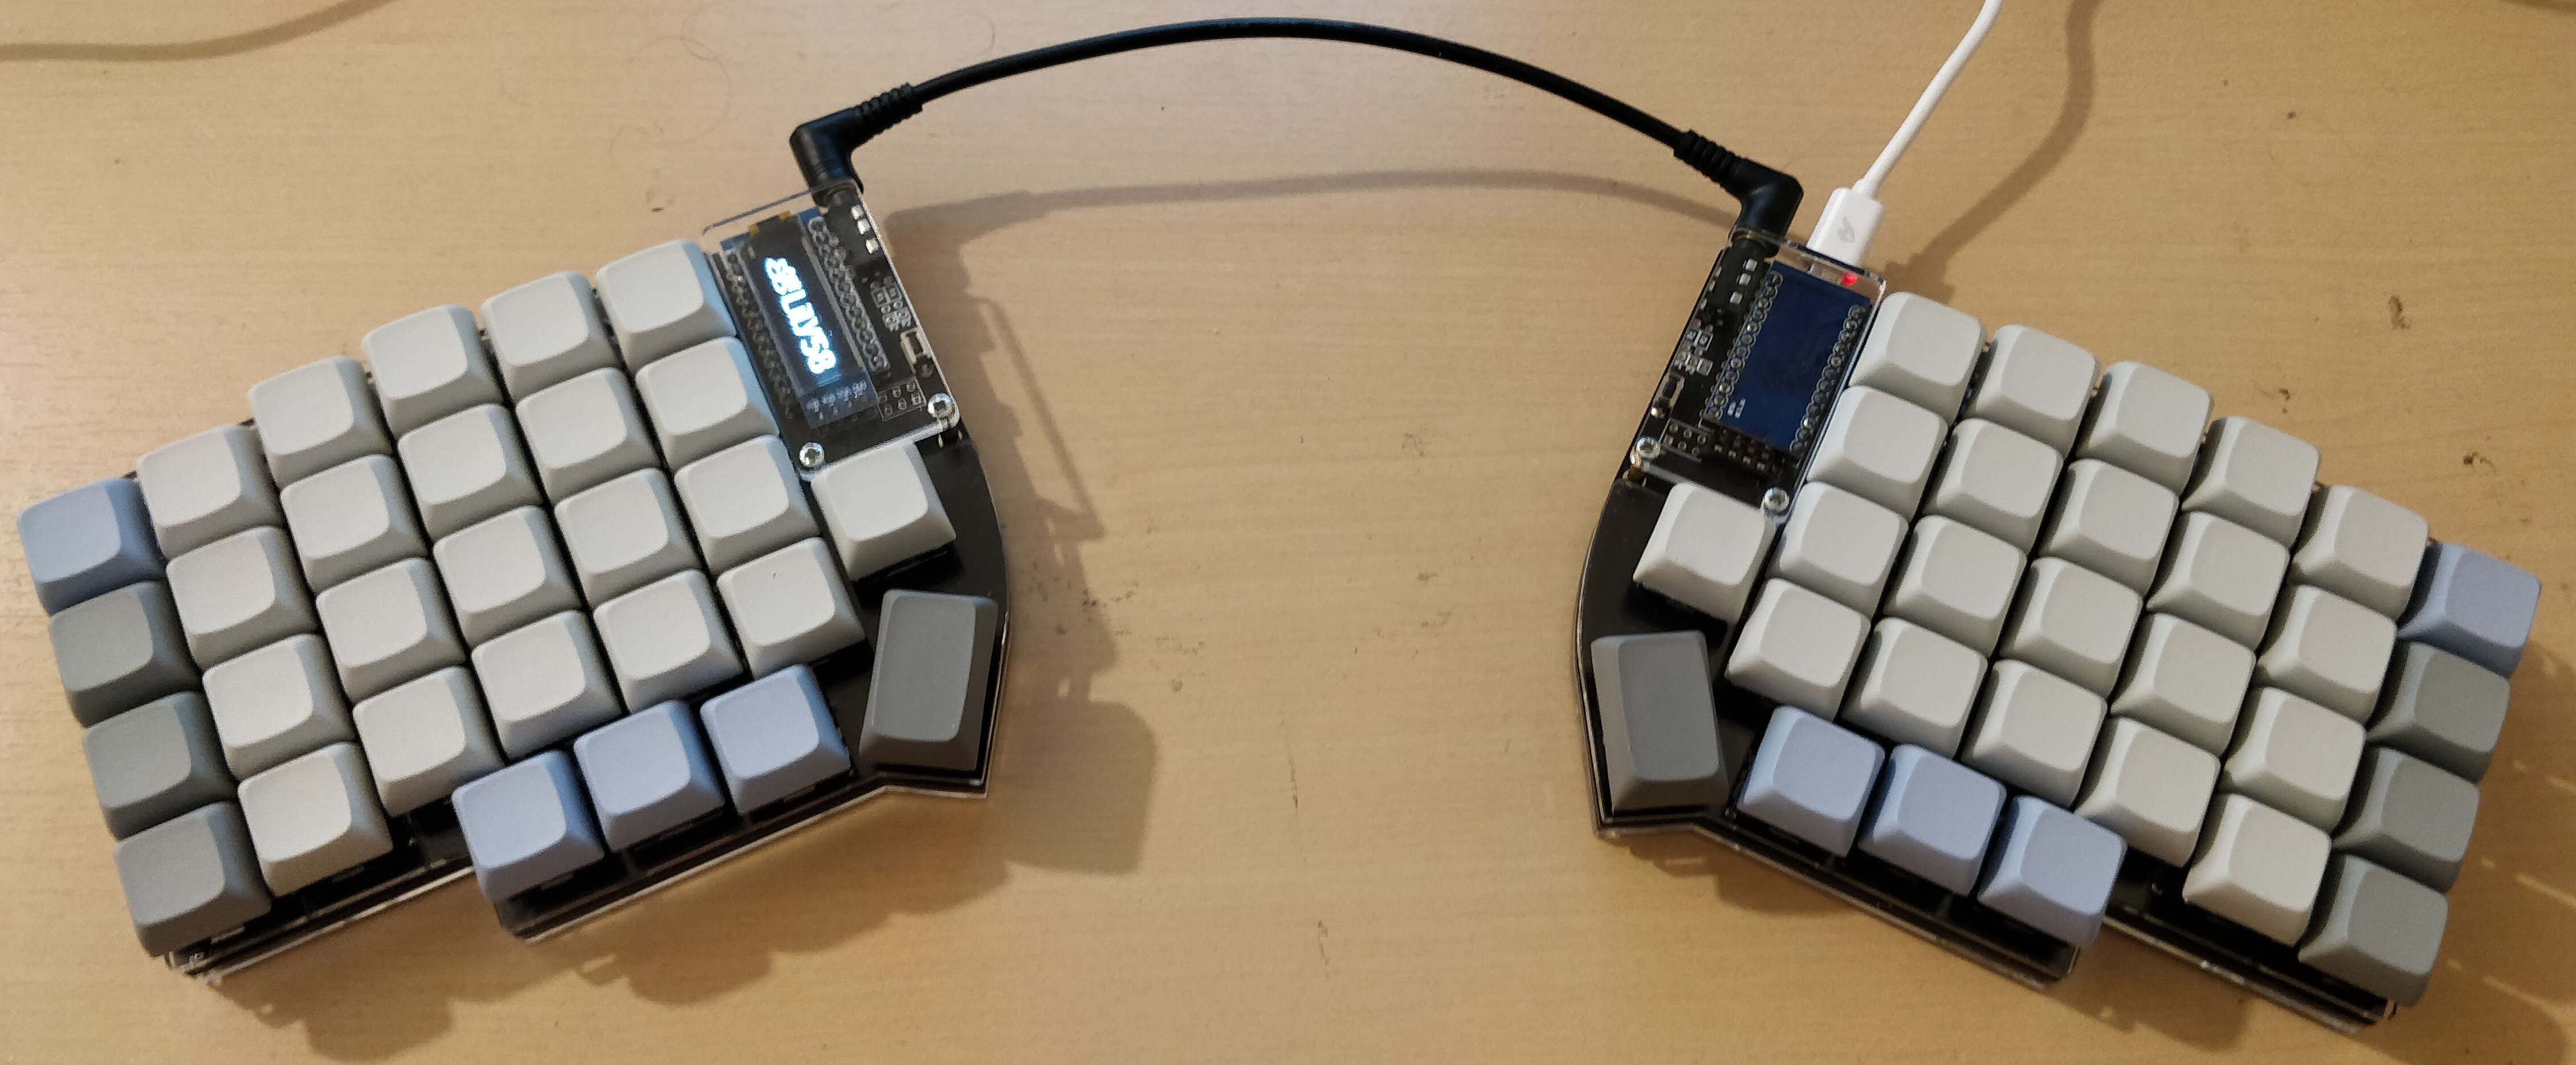
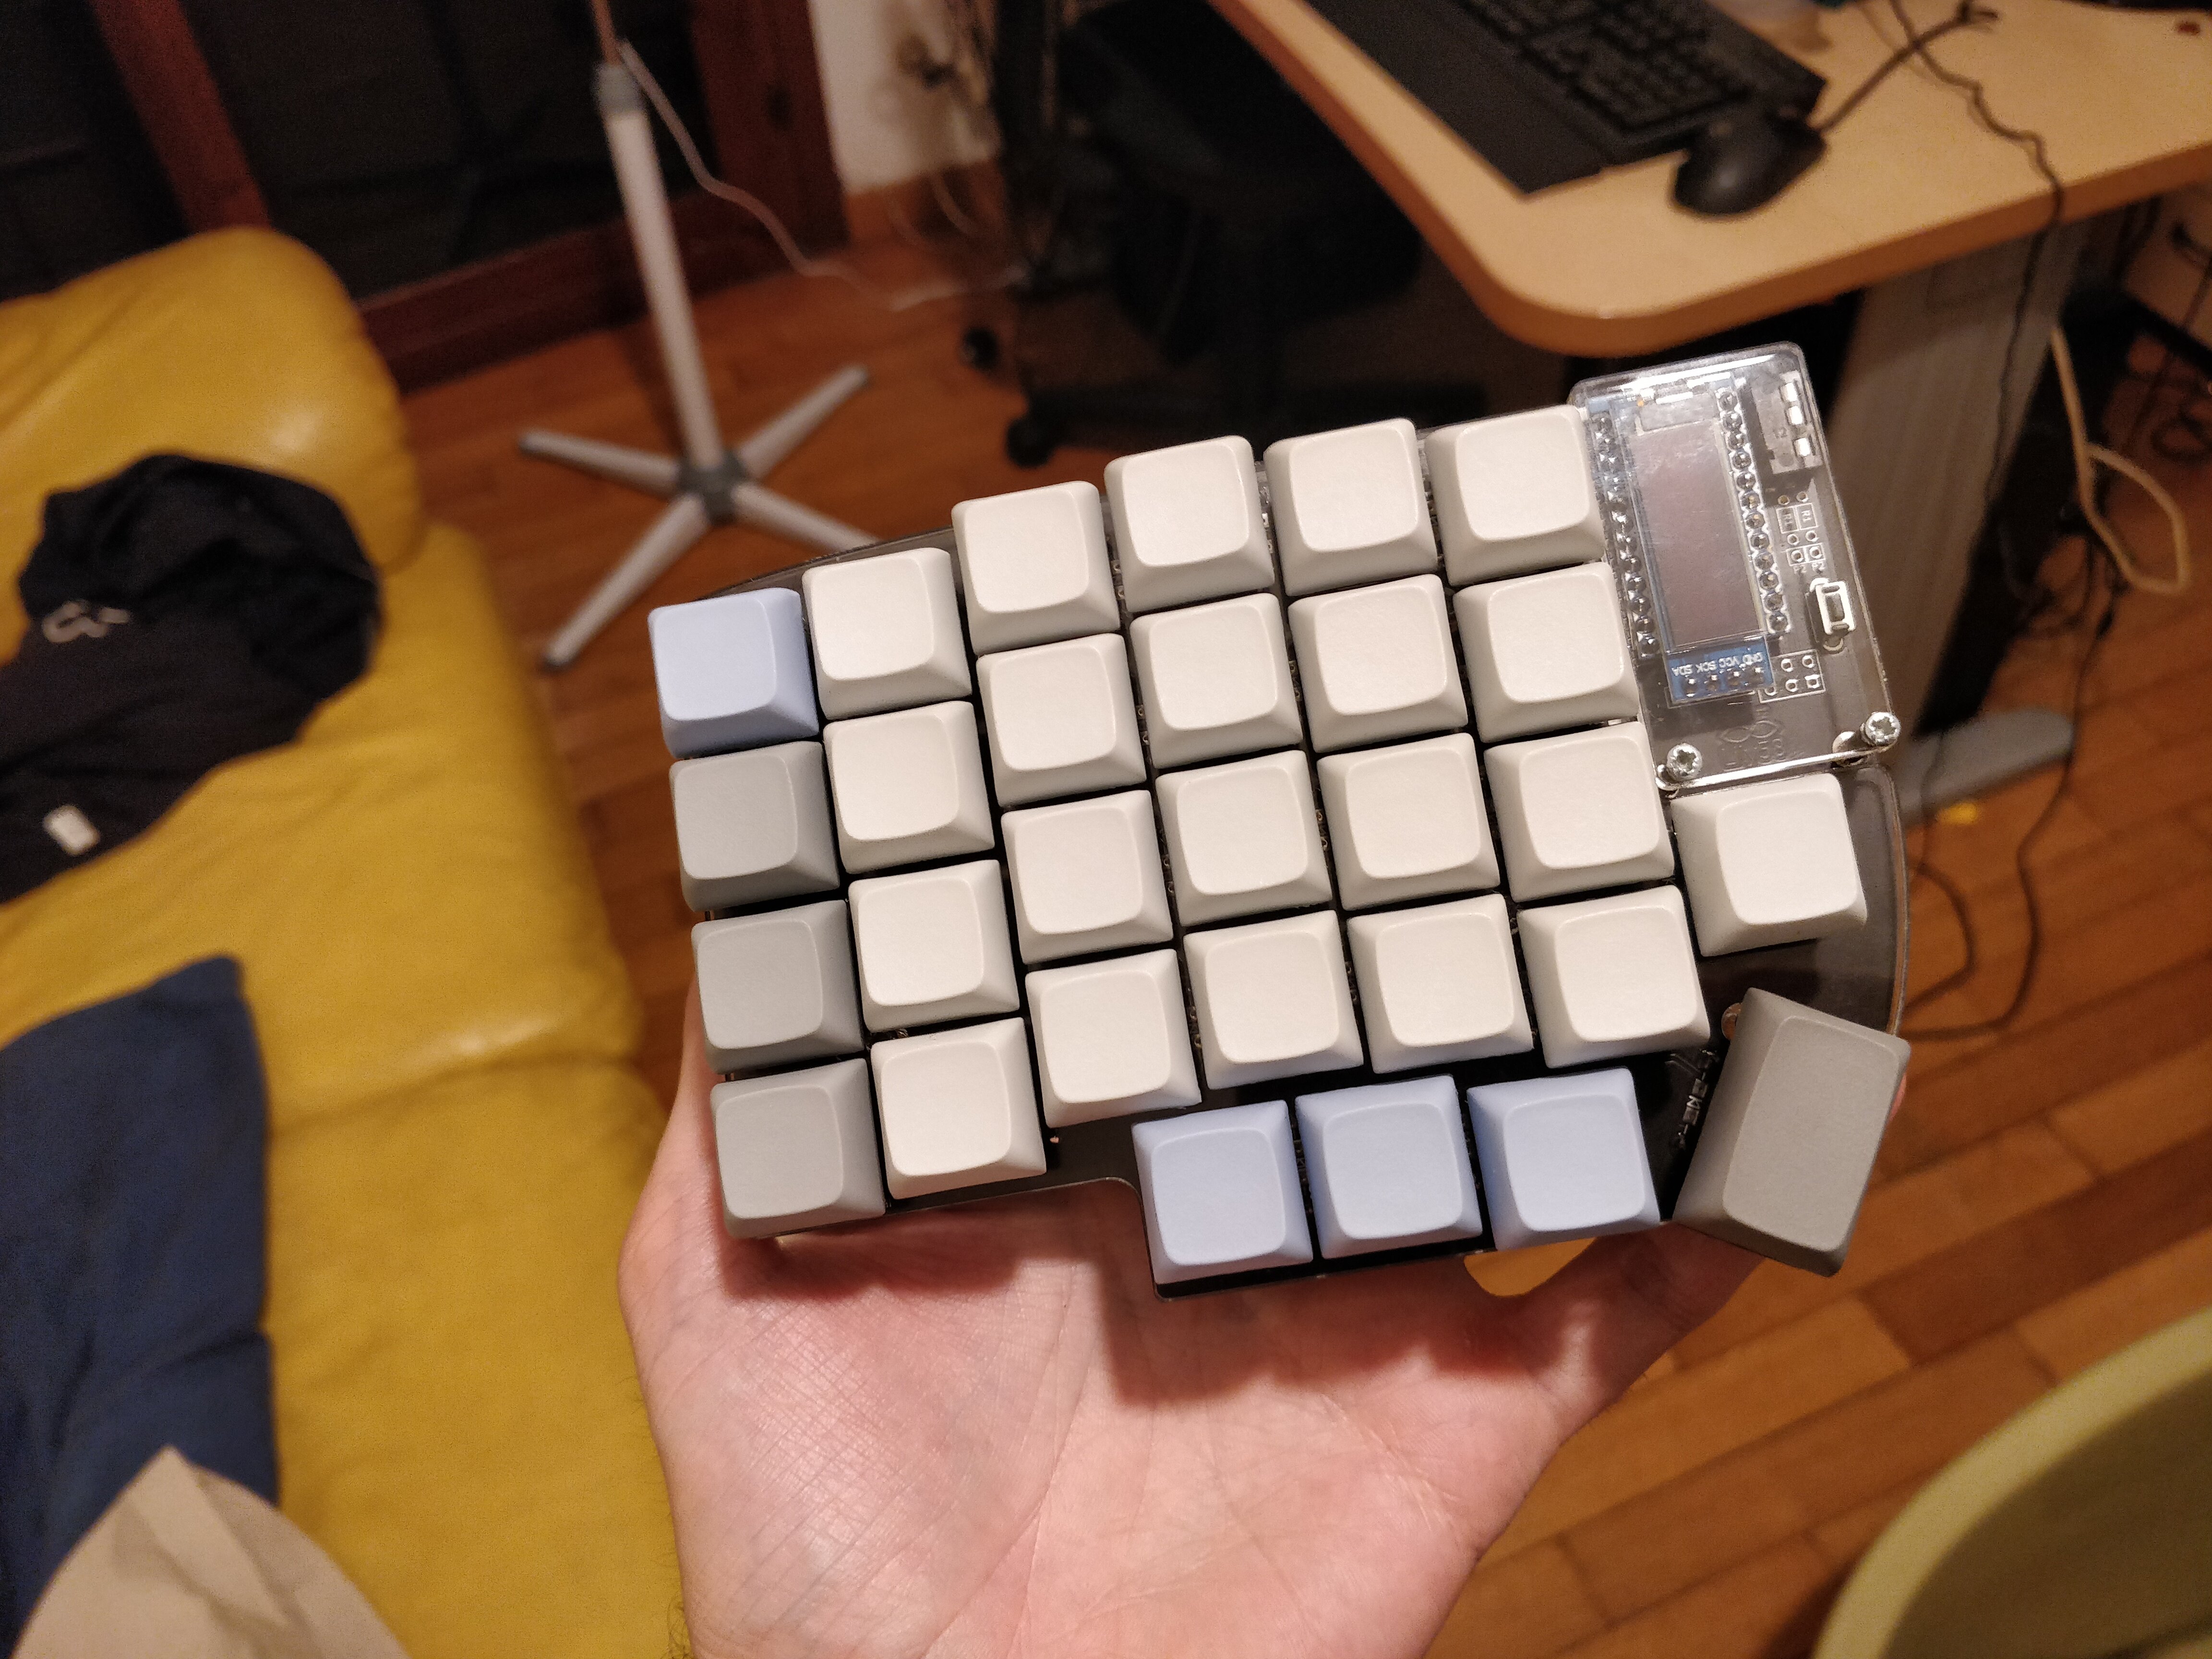
The keyboard is a Lily58, a “6*4+4keys column-staggered split keyboard”, I only found the normal version, not “Pro”. Since a split keyboard wasn’t enough I’ve also decided to use blank caps. The reason behind this choice was that I was not sure about the layout when I ordered the parts, and since it was a long time that I wanted to learn to blind type I thought it would have been convenient. I have to partially change my mind, I spent some days using sites like keybr to improve my skills but as soon I need more unusual symbols (not the characters in short) I’ve difficulties.
Then, when in September I needed to type efficiently and I abondoned this keyboard. In conclusion, in hindsight, it would have been better to choose a less exotic keyboard, I would had more satisfaction.
Parts
I found out that trying to get the parts as European citzen is not easy, there’s little choice an the prices are high. I didn’t find any Italian resellers for this kind of stuff.
However in the end I ordered the needed parts from
- MechBoards for the PCB, the diodes, the buttons, the TRRS cable (and connectors) and the acrylic case.
- this store on AliExpress for the switches, the keycaps and the Pro Micros.
Usually I don’t like to advertise for free, but this time I’m happy to do it because the both the stores were really kind. The first one resent me a piece I accidentaly broke and the second one let me personalize my order with the two central 1.5U grey keys.
The total cost was about 120 euros, shipping included. However I’ve some leftovers, some caps and switches, I could build a useless numpad.
Case, cable, buttons and connectors
The case is in acrylic and it’s transparent, had a protection film that made me really satisfied when I removed it.
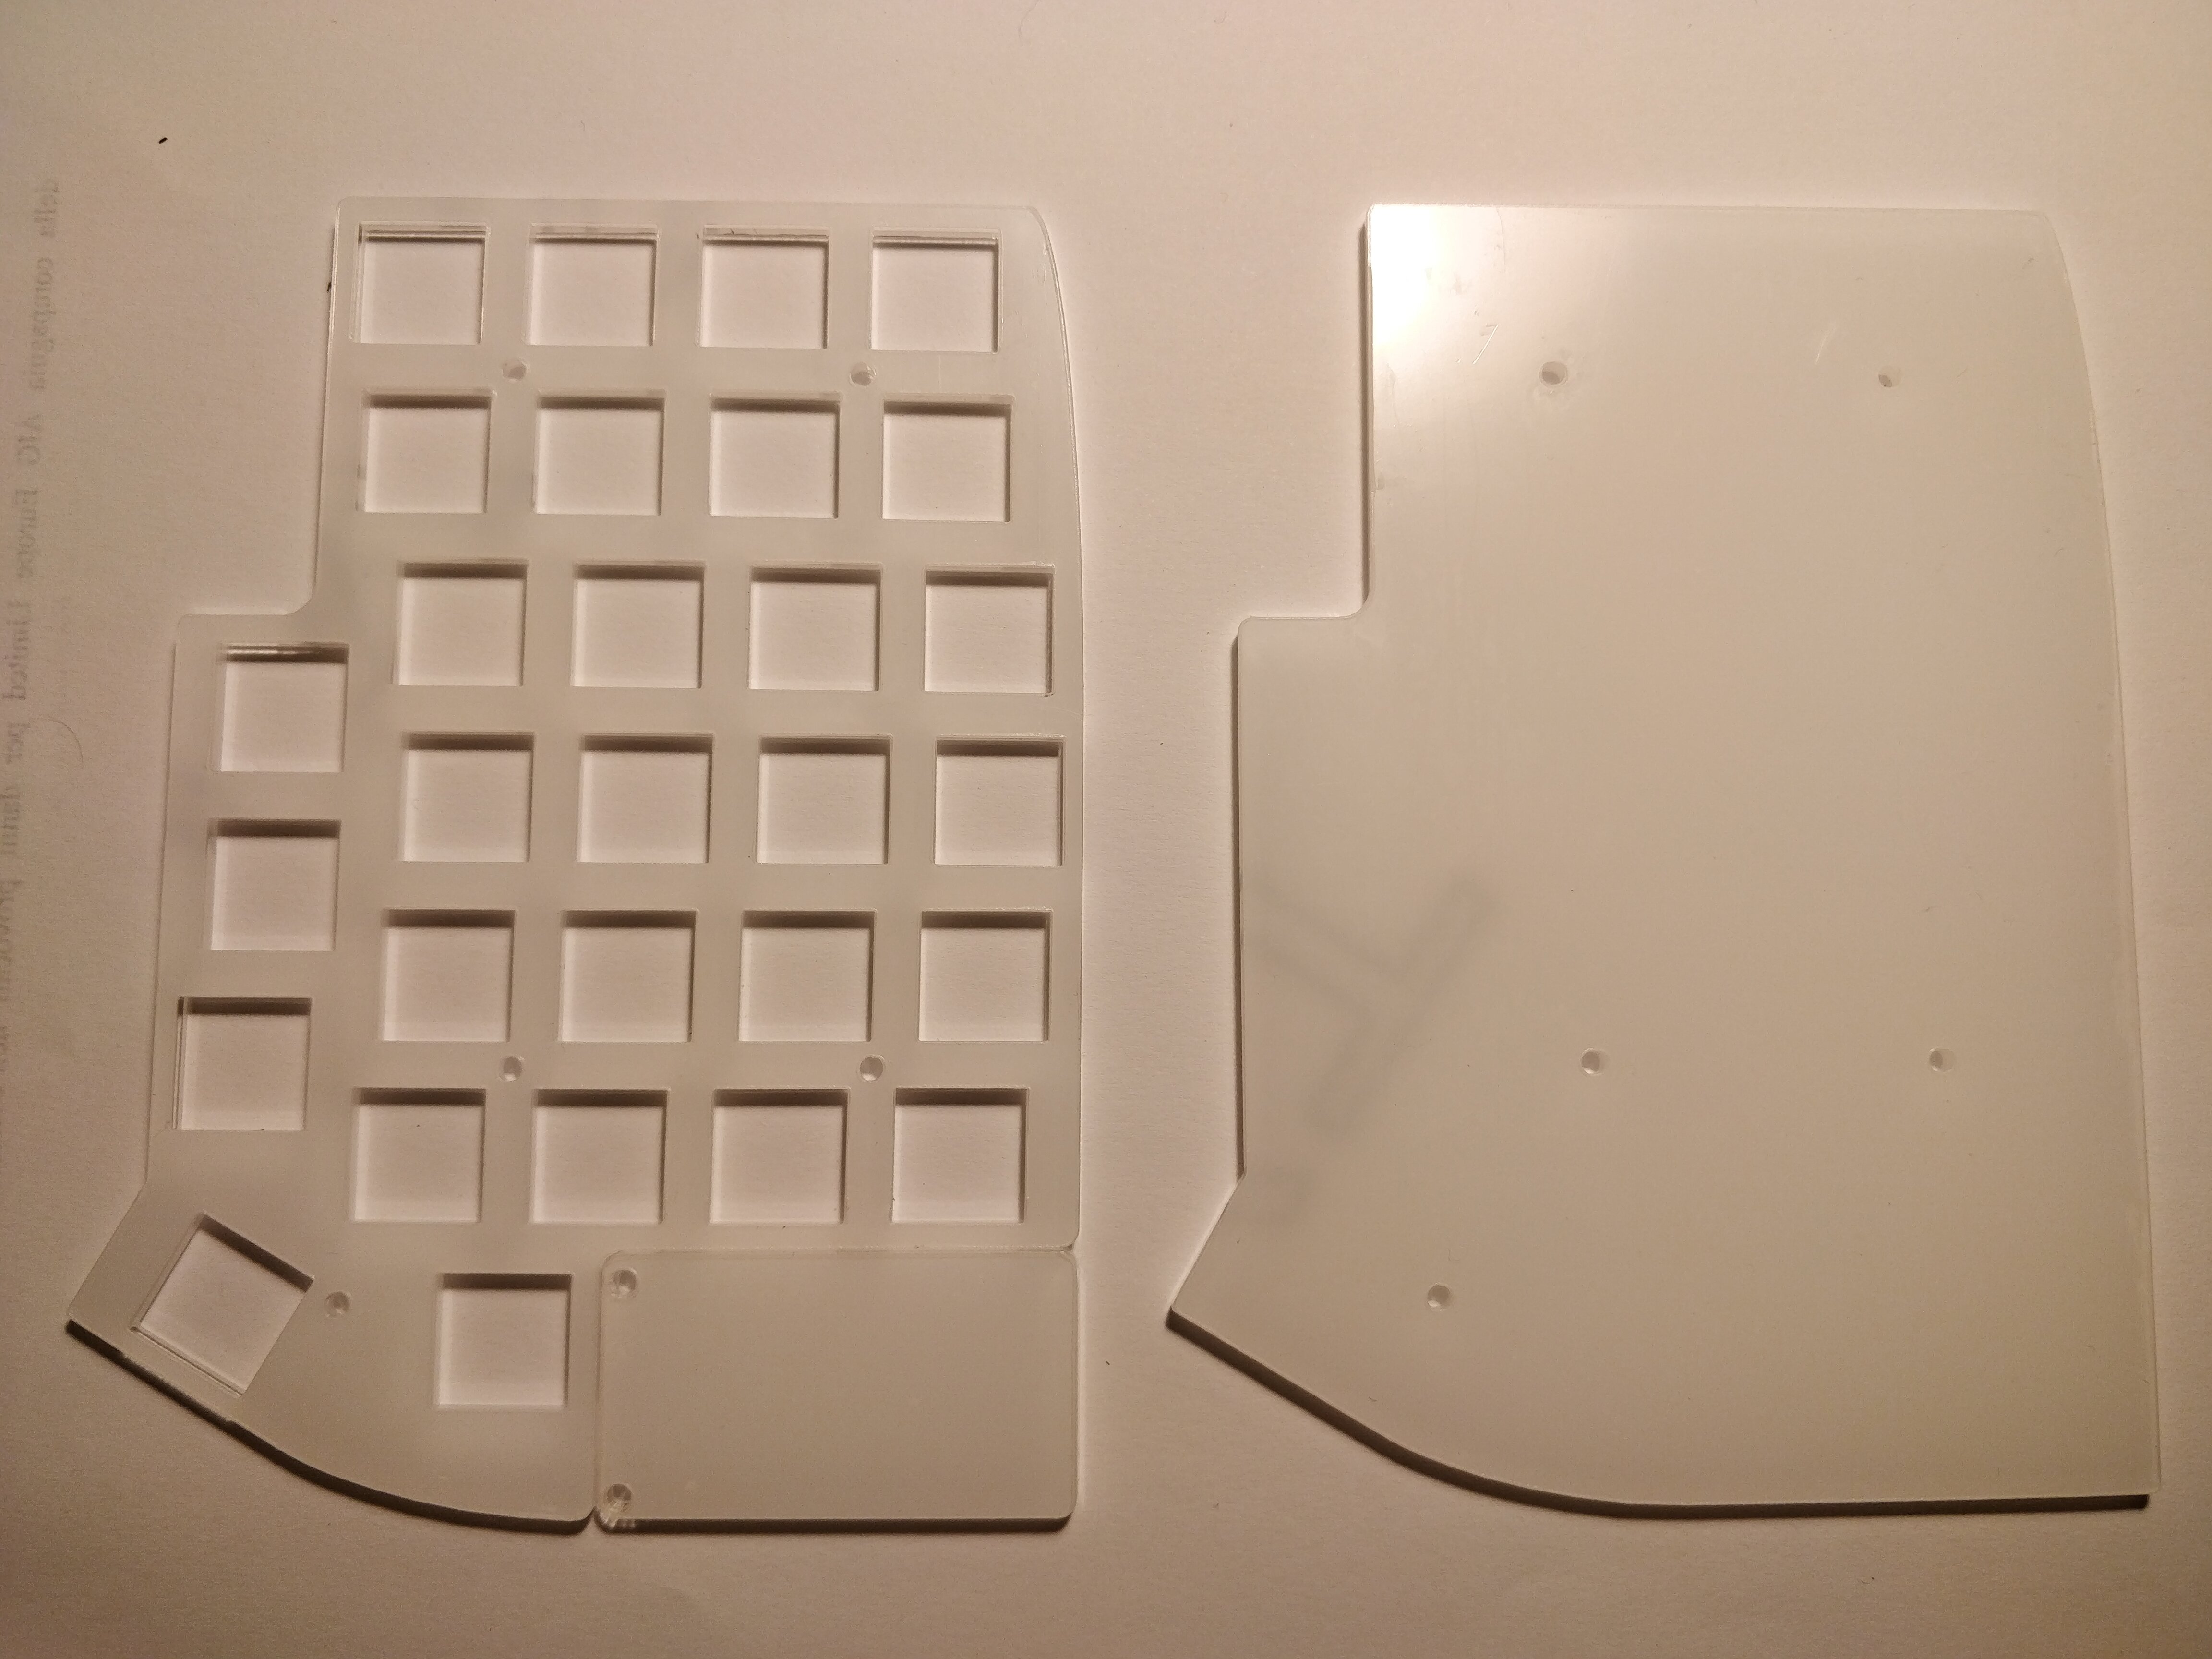
With the case I also got the TRSS cable and two females connectors.
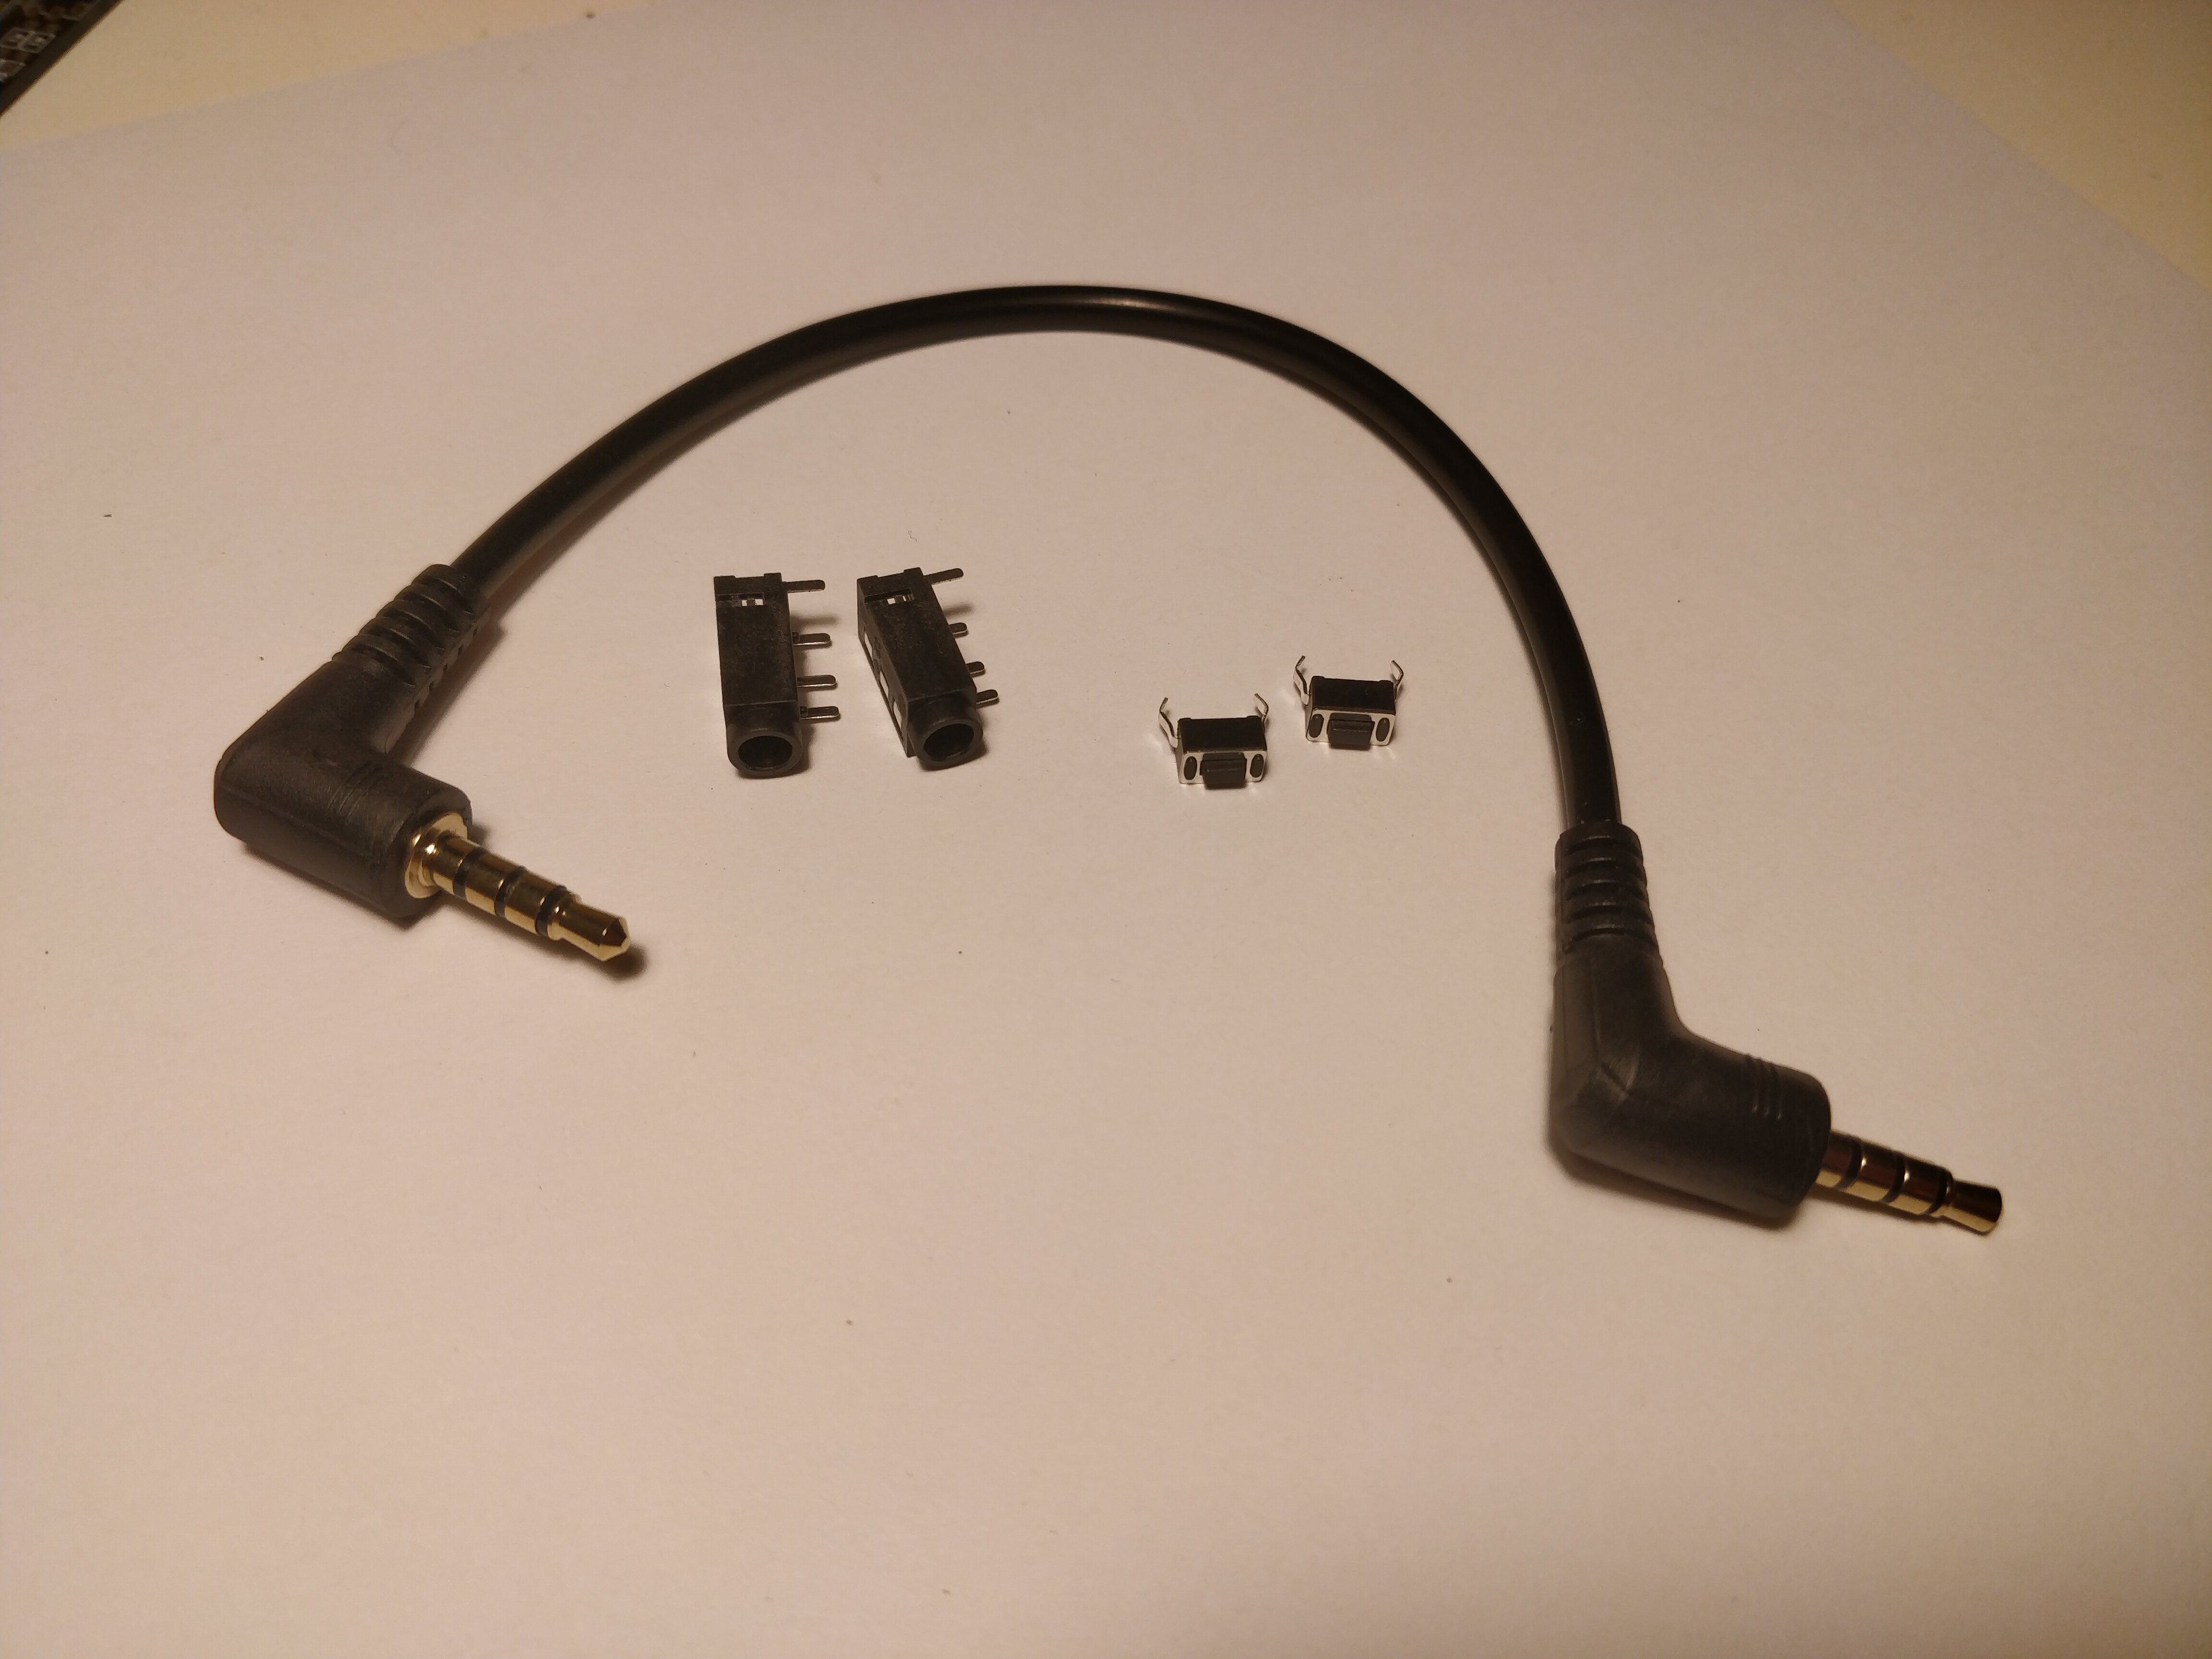
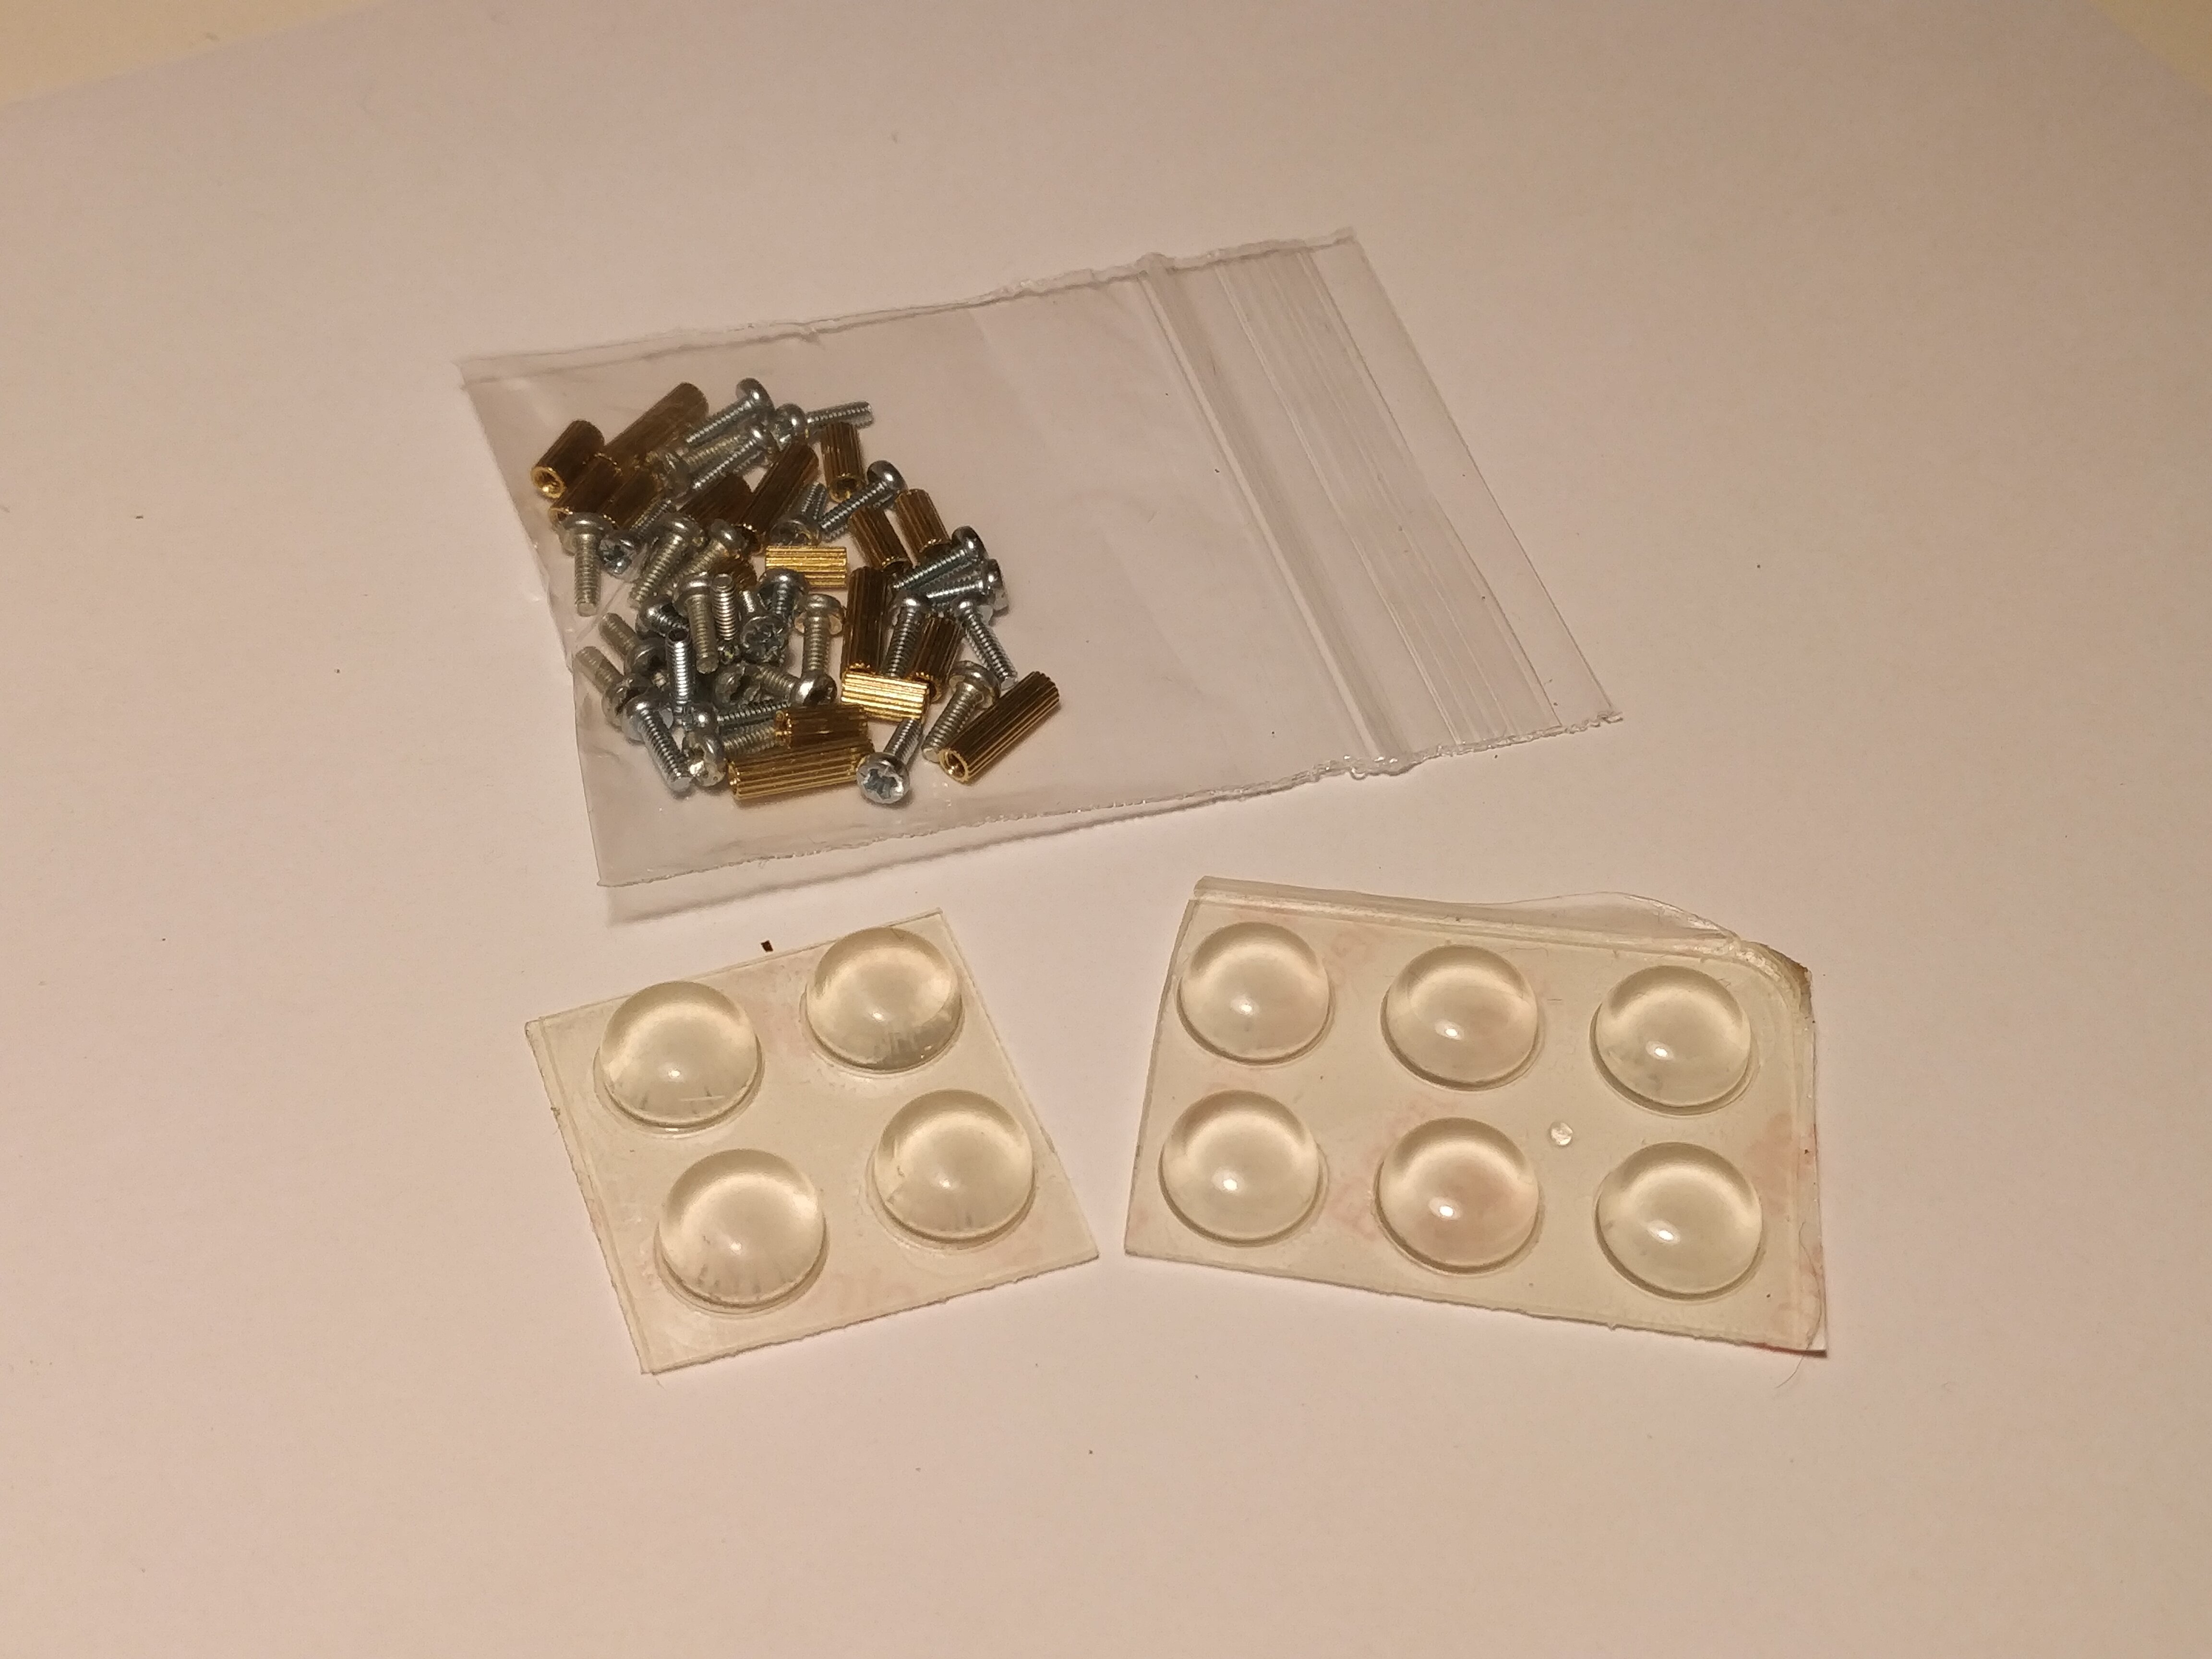
Obviously with the case there were also the needed screws and some rubber pads, however in the end I used other pads I already had because they were higher.
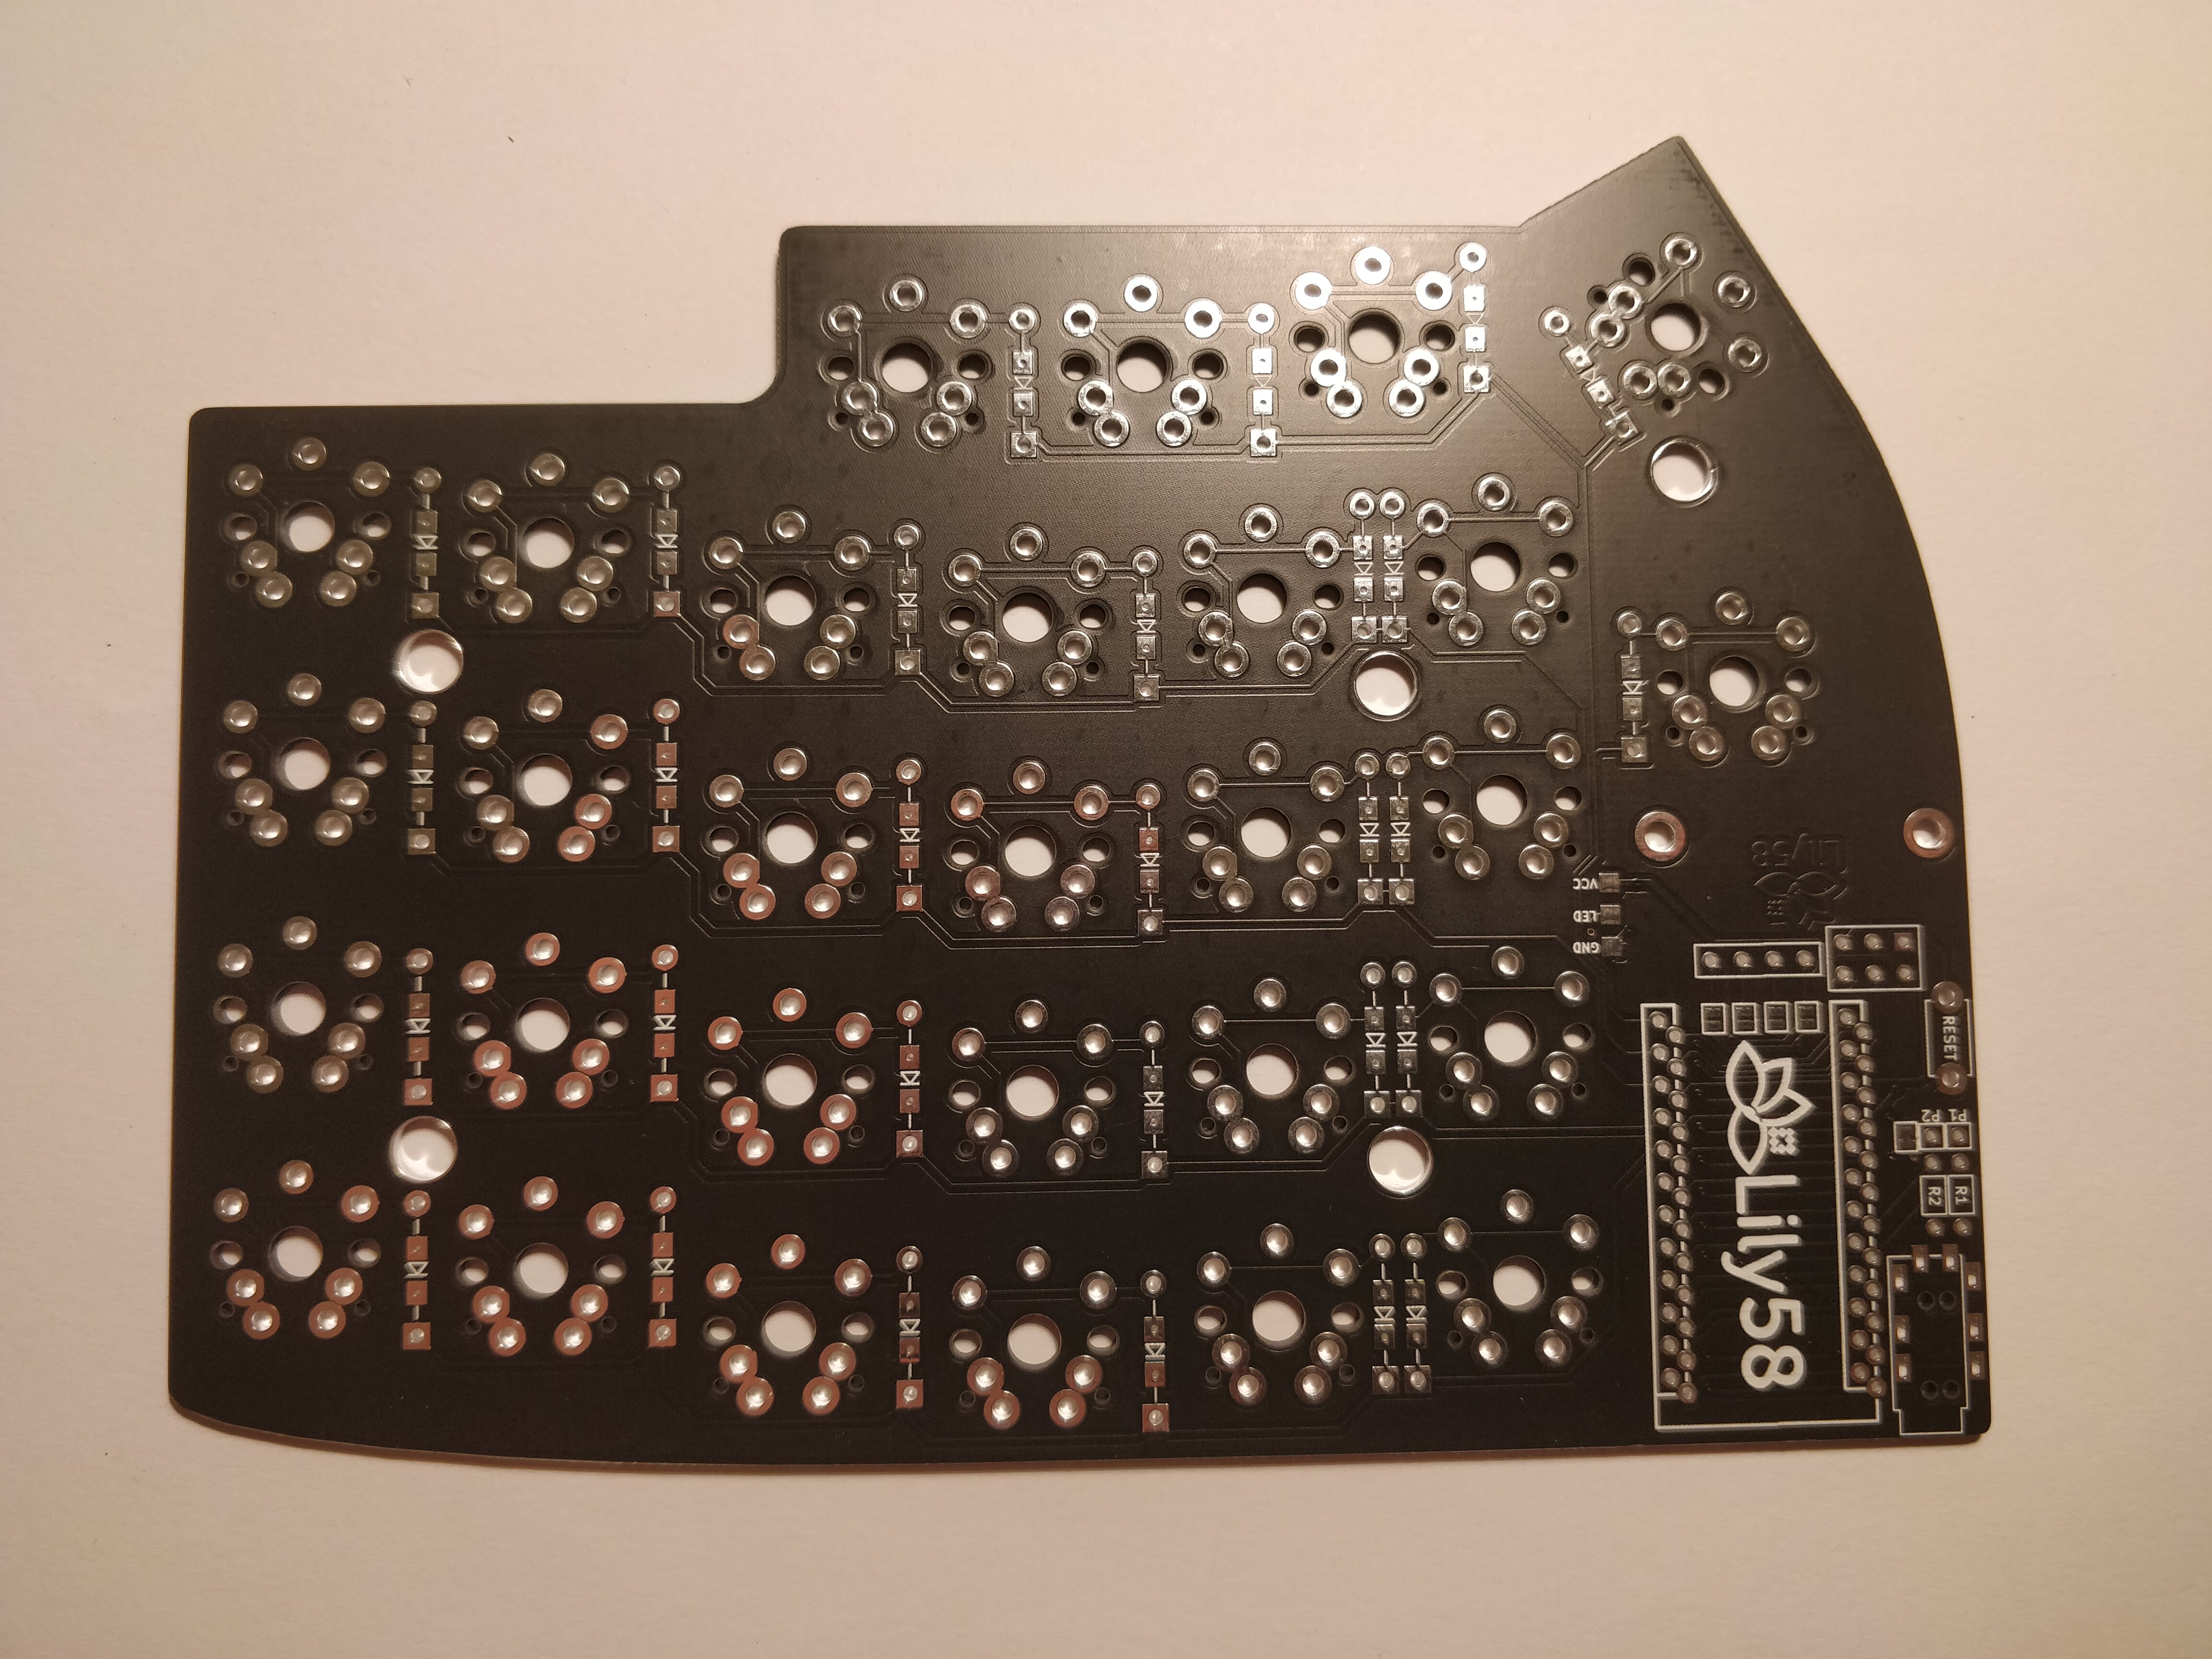
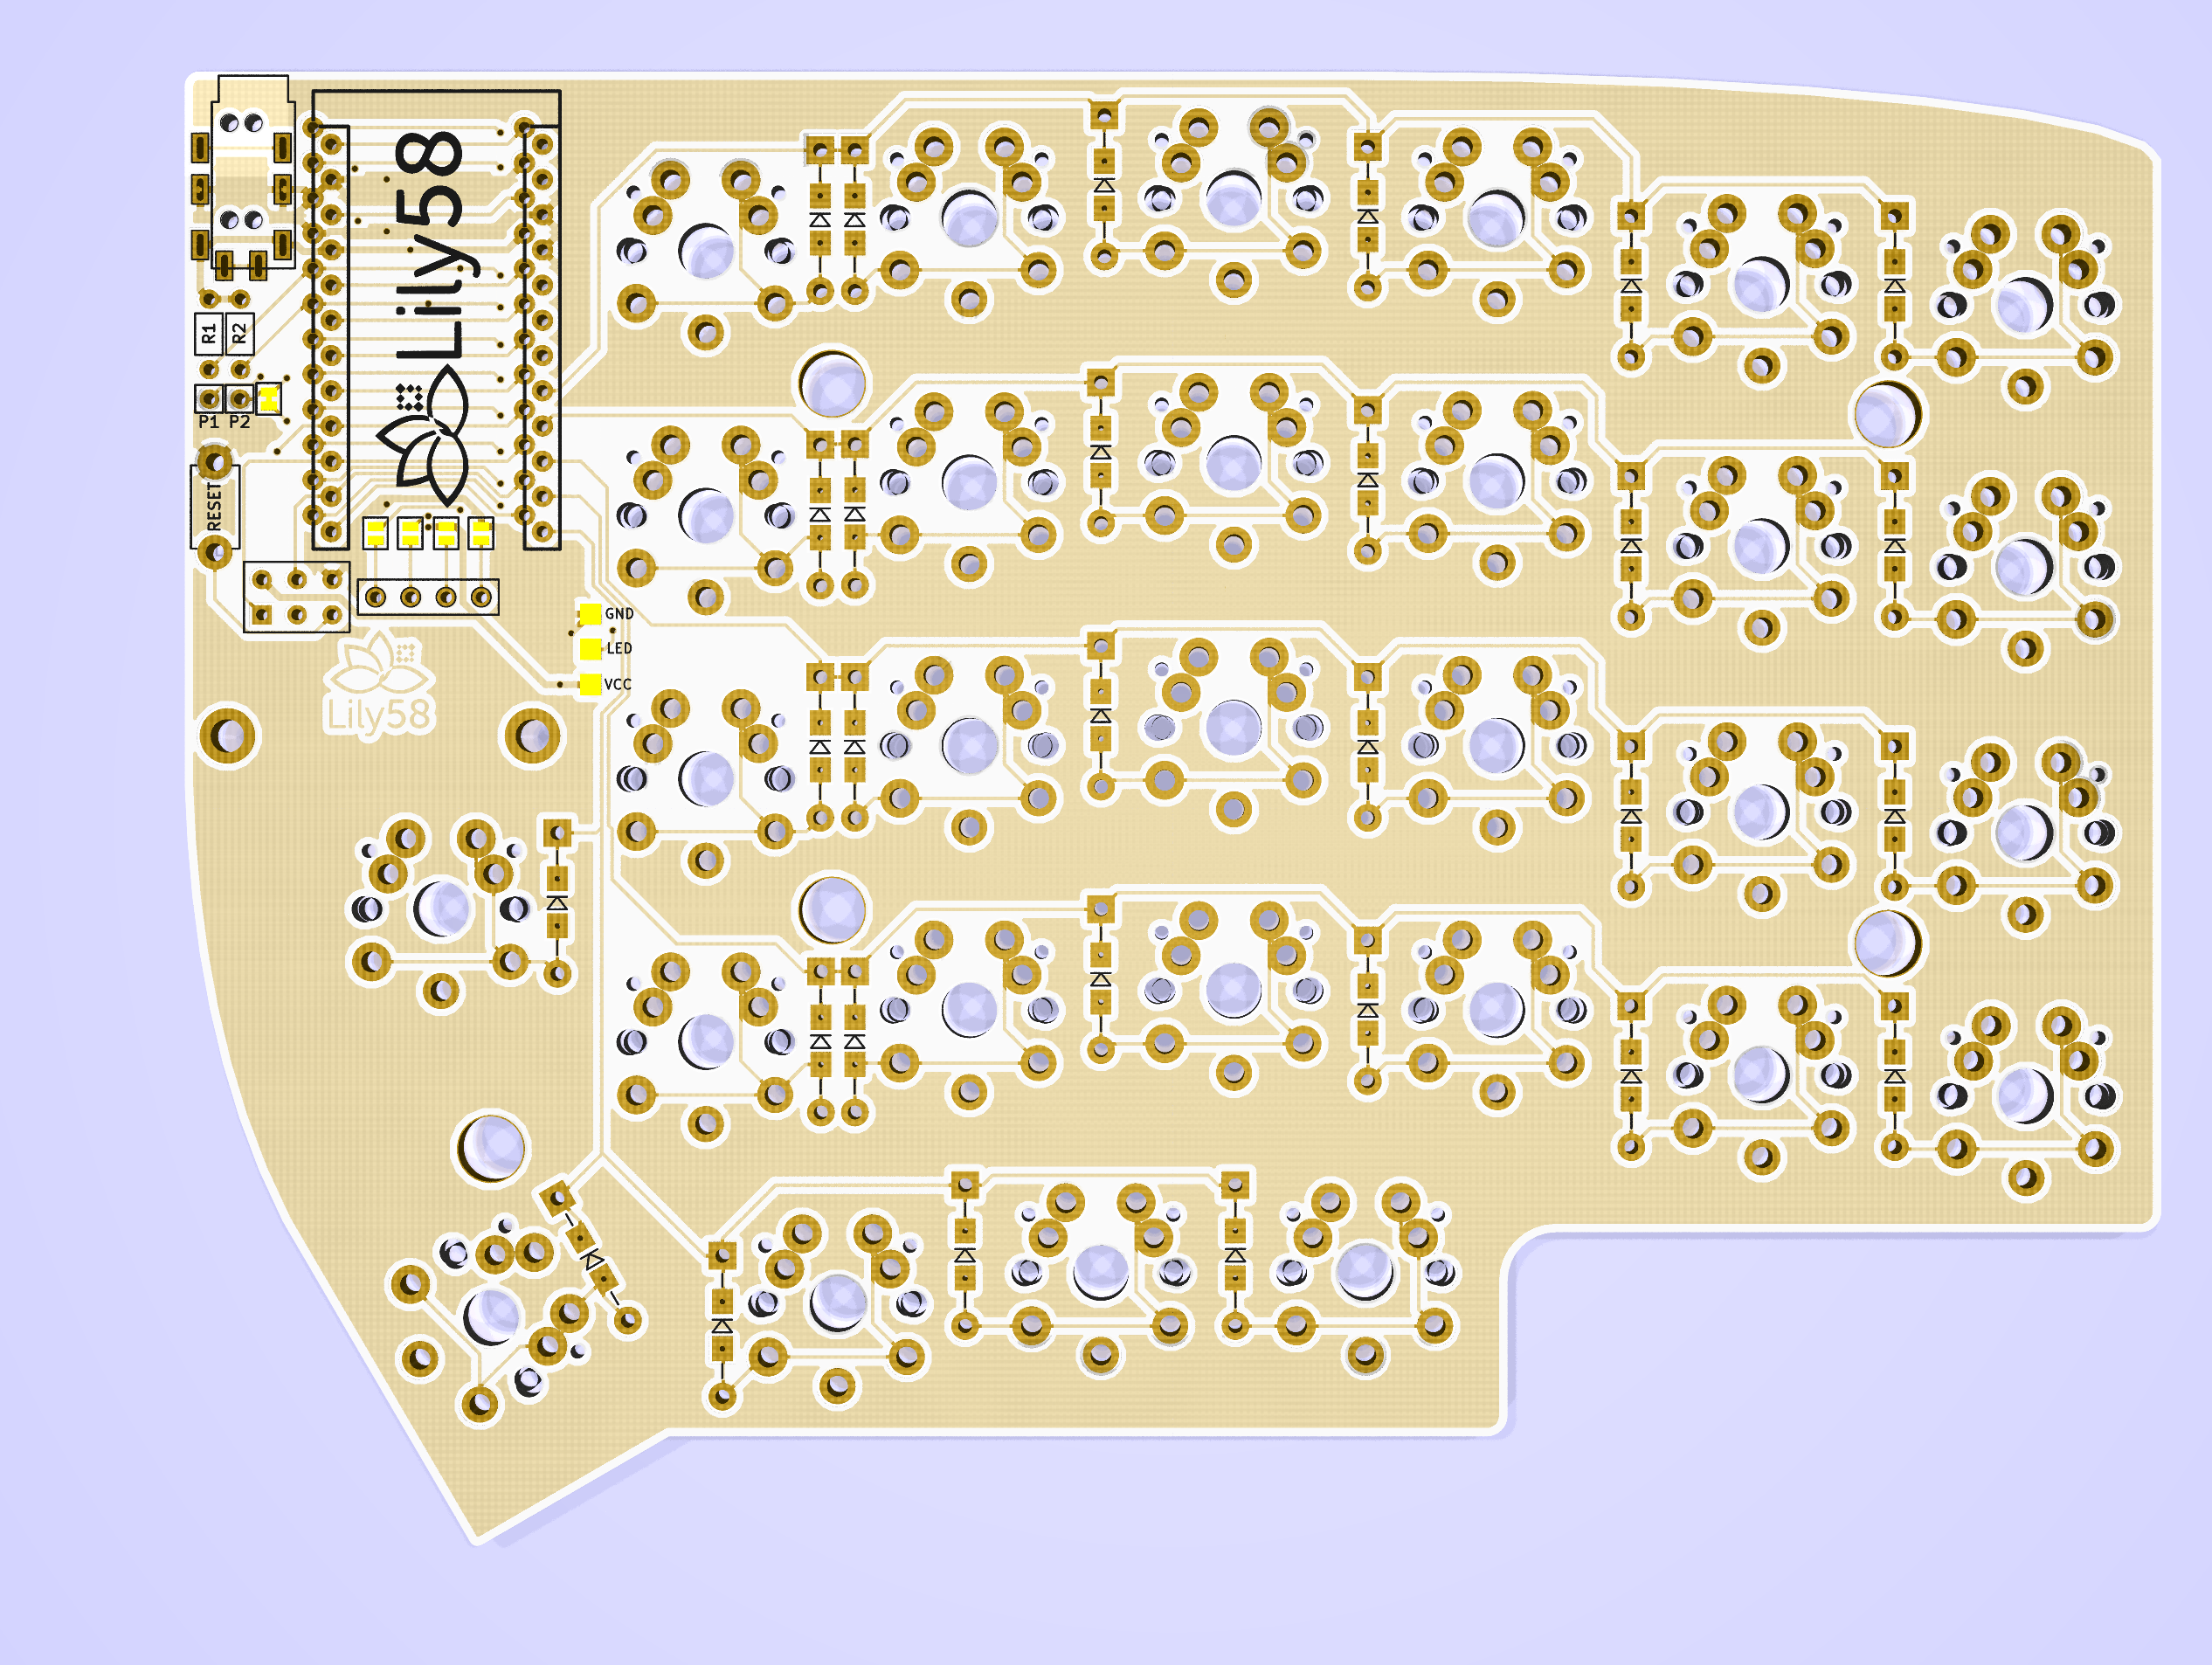
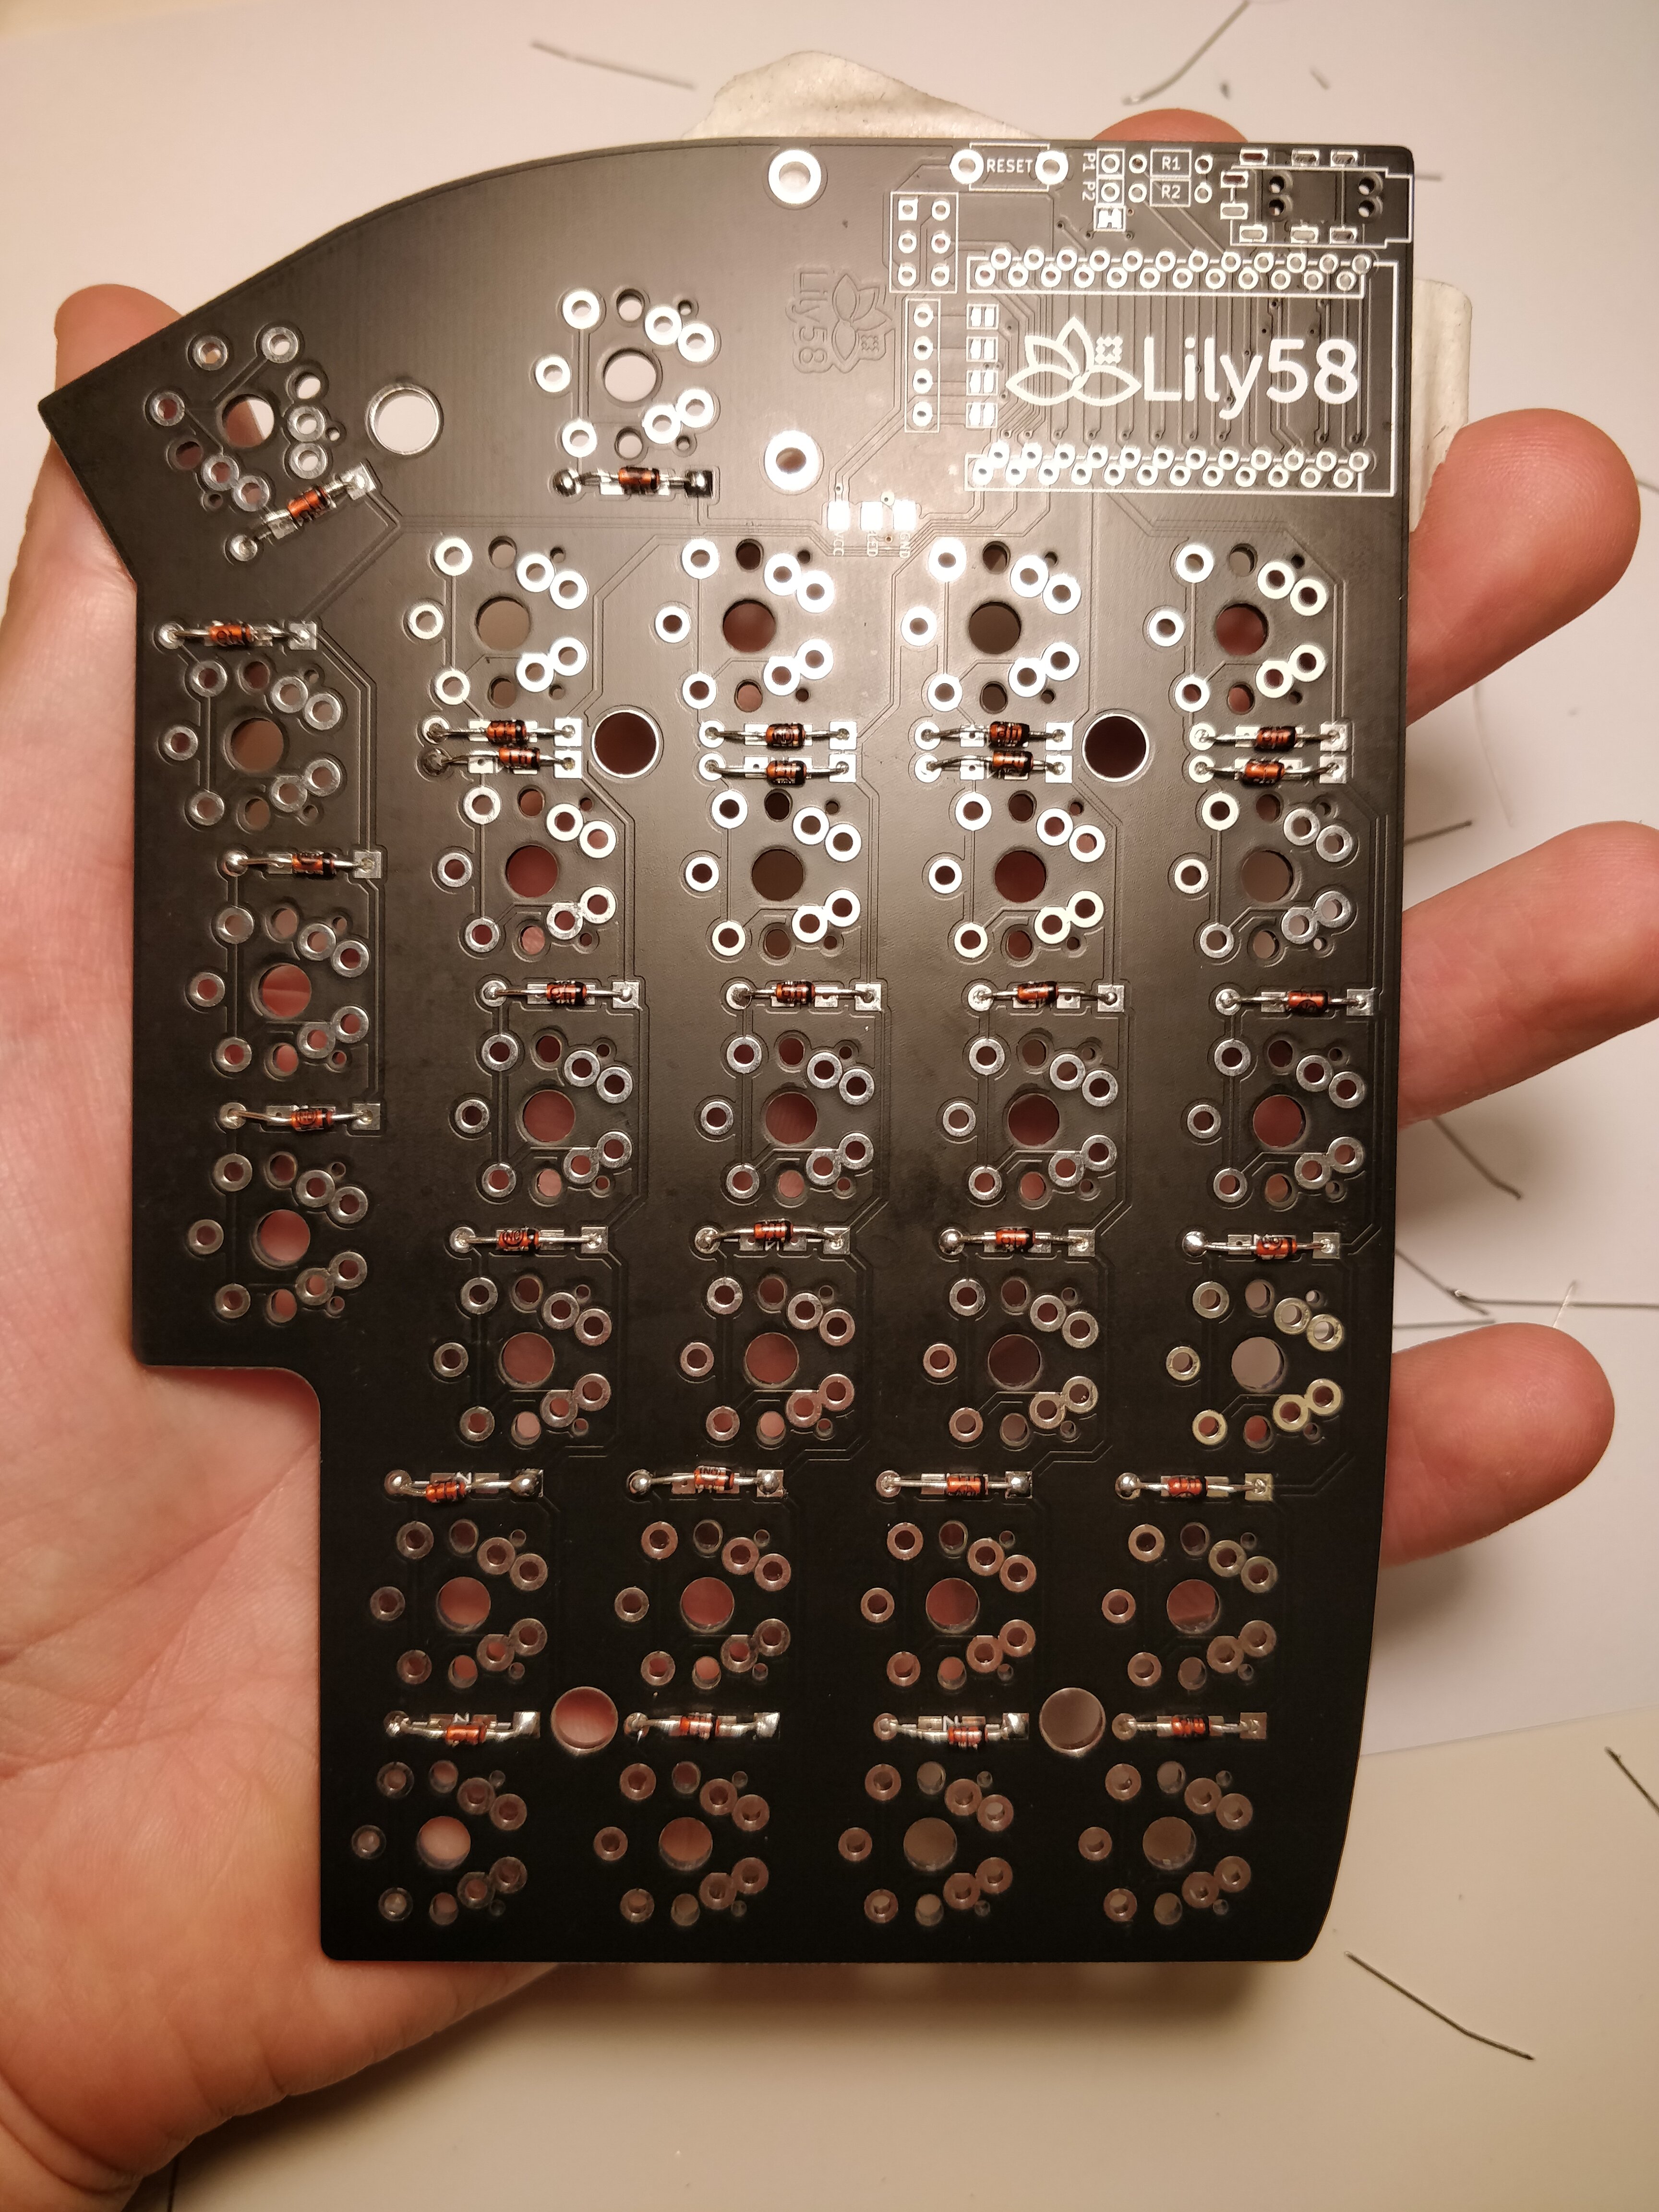
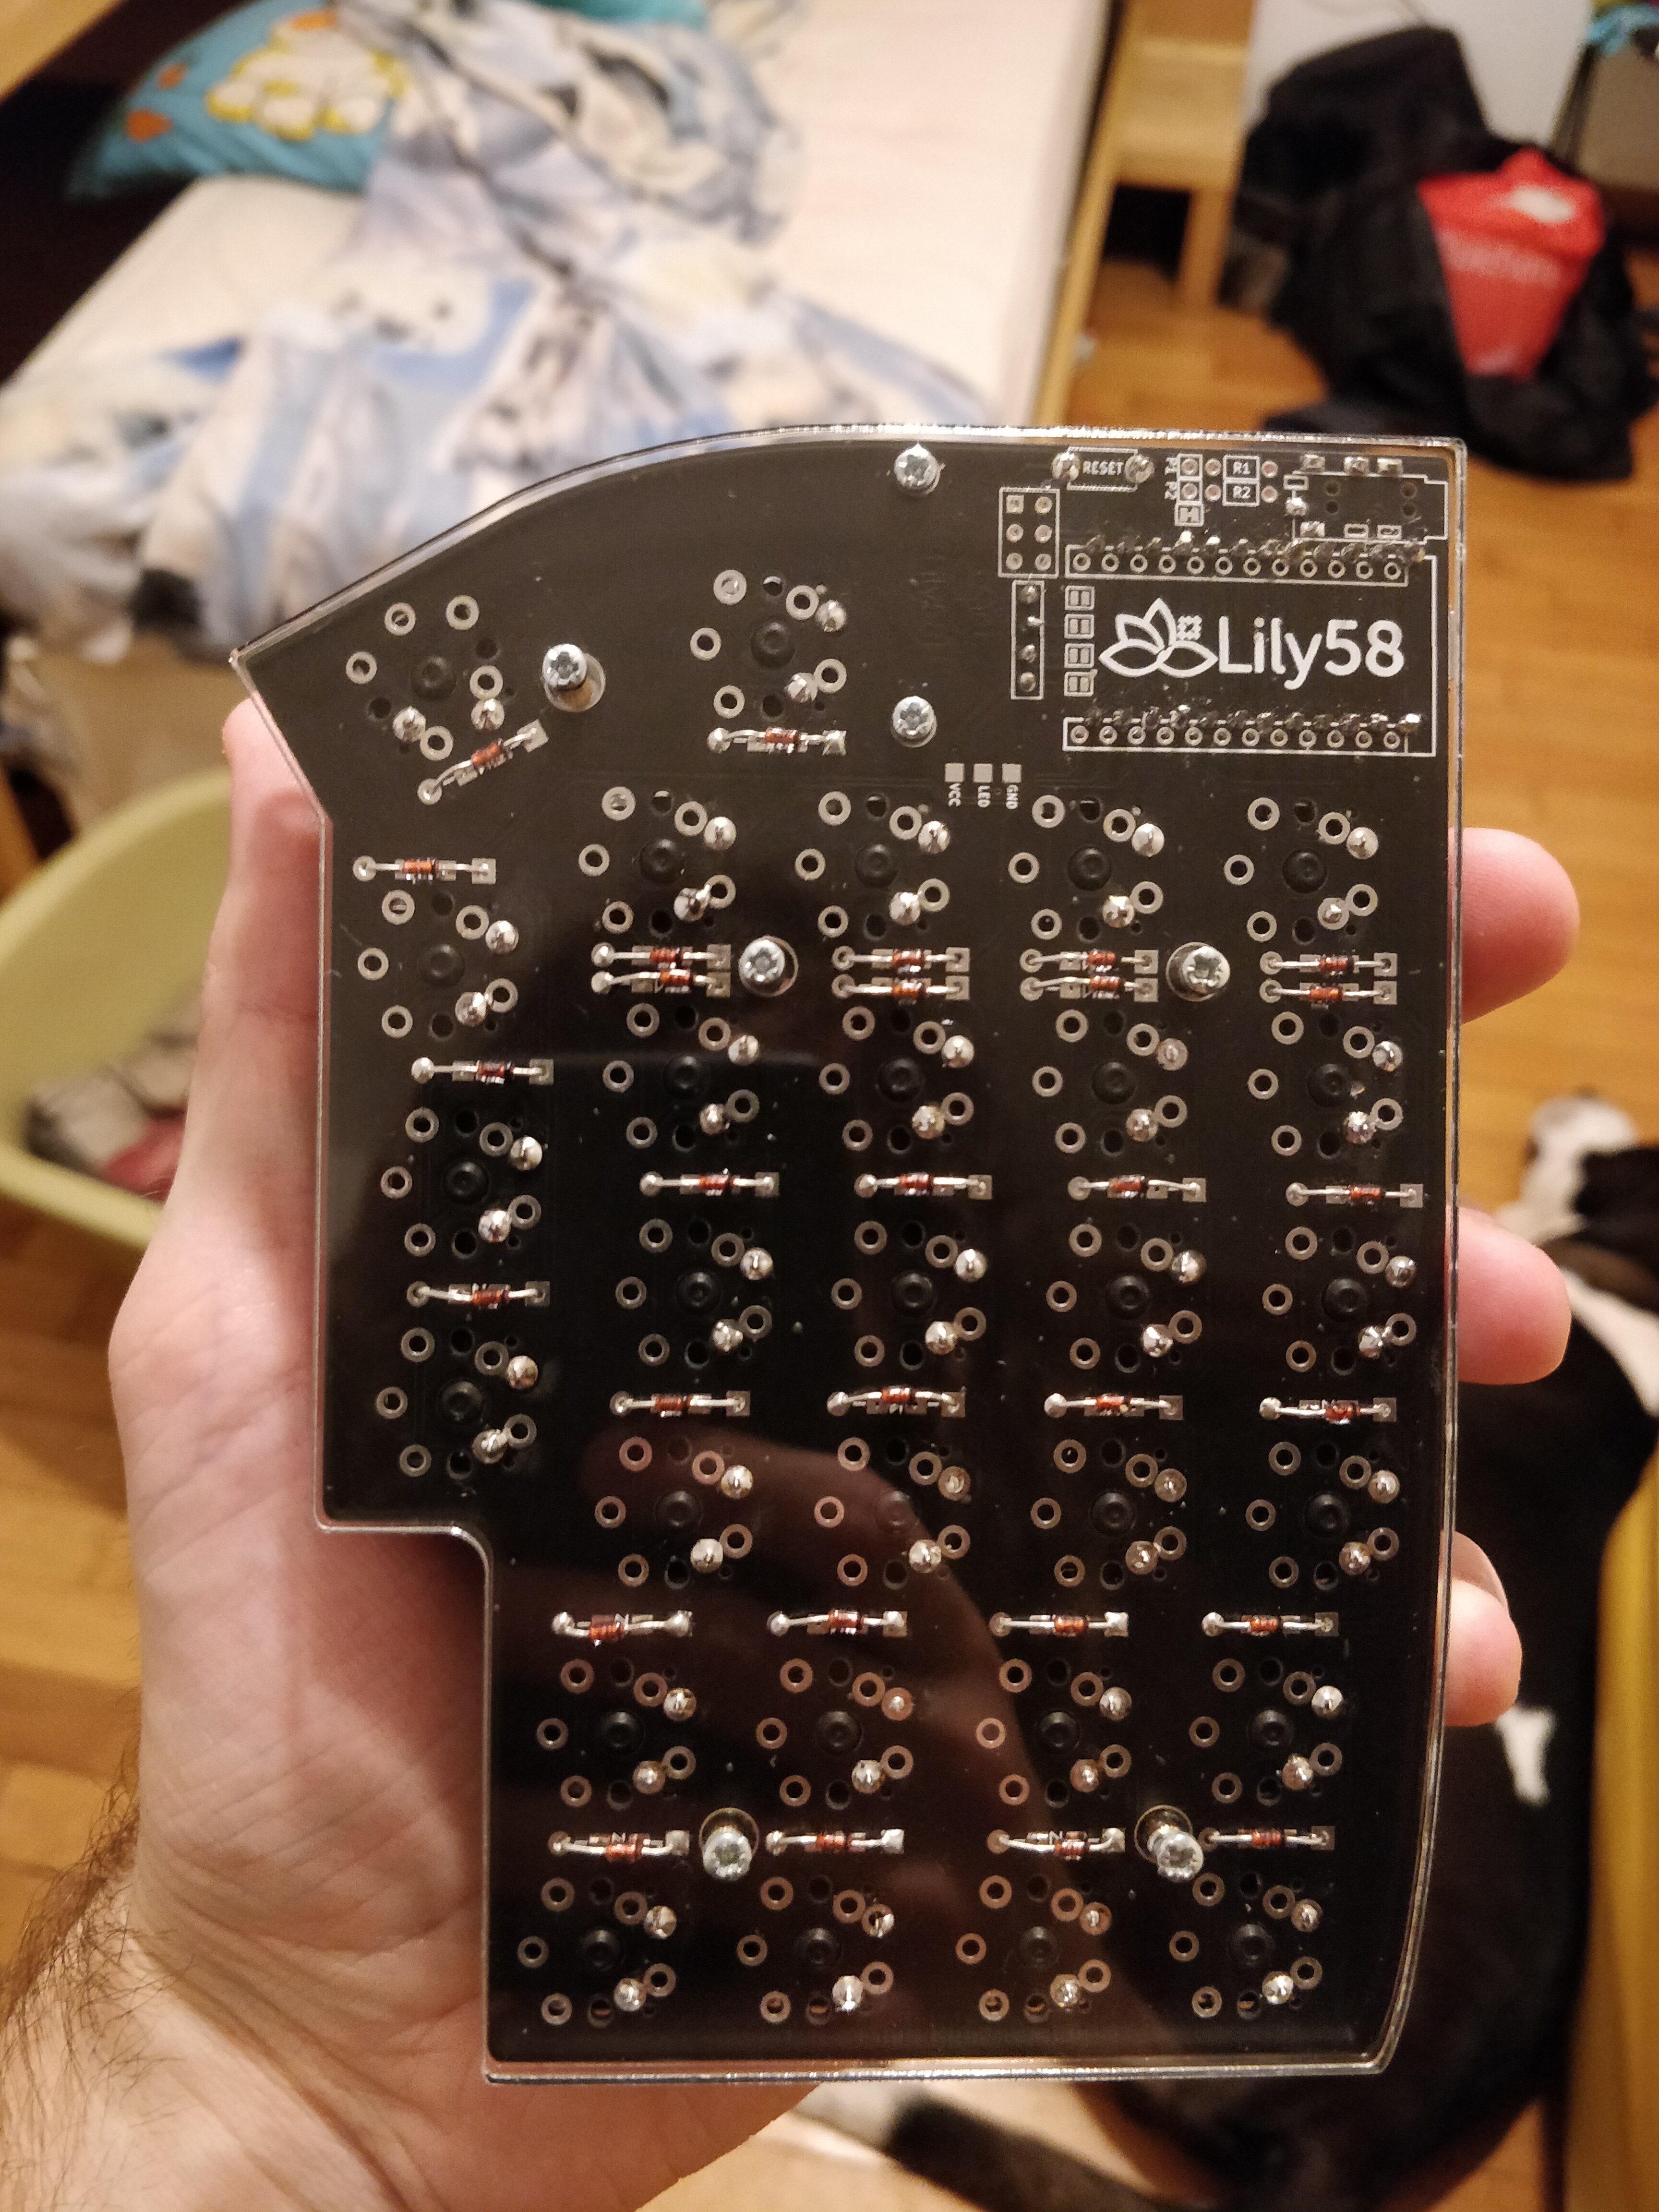
The PCBs and the diodes
The two PCBs are identicals and they work differently depending on the side you sold components on, an ingenious and cost-effective design.

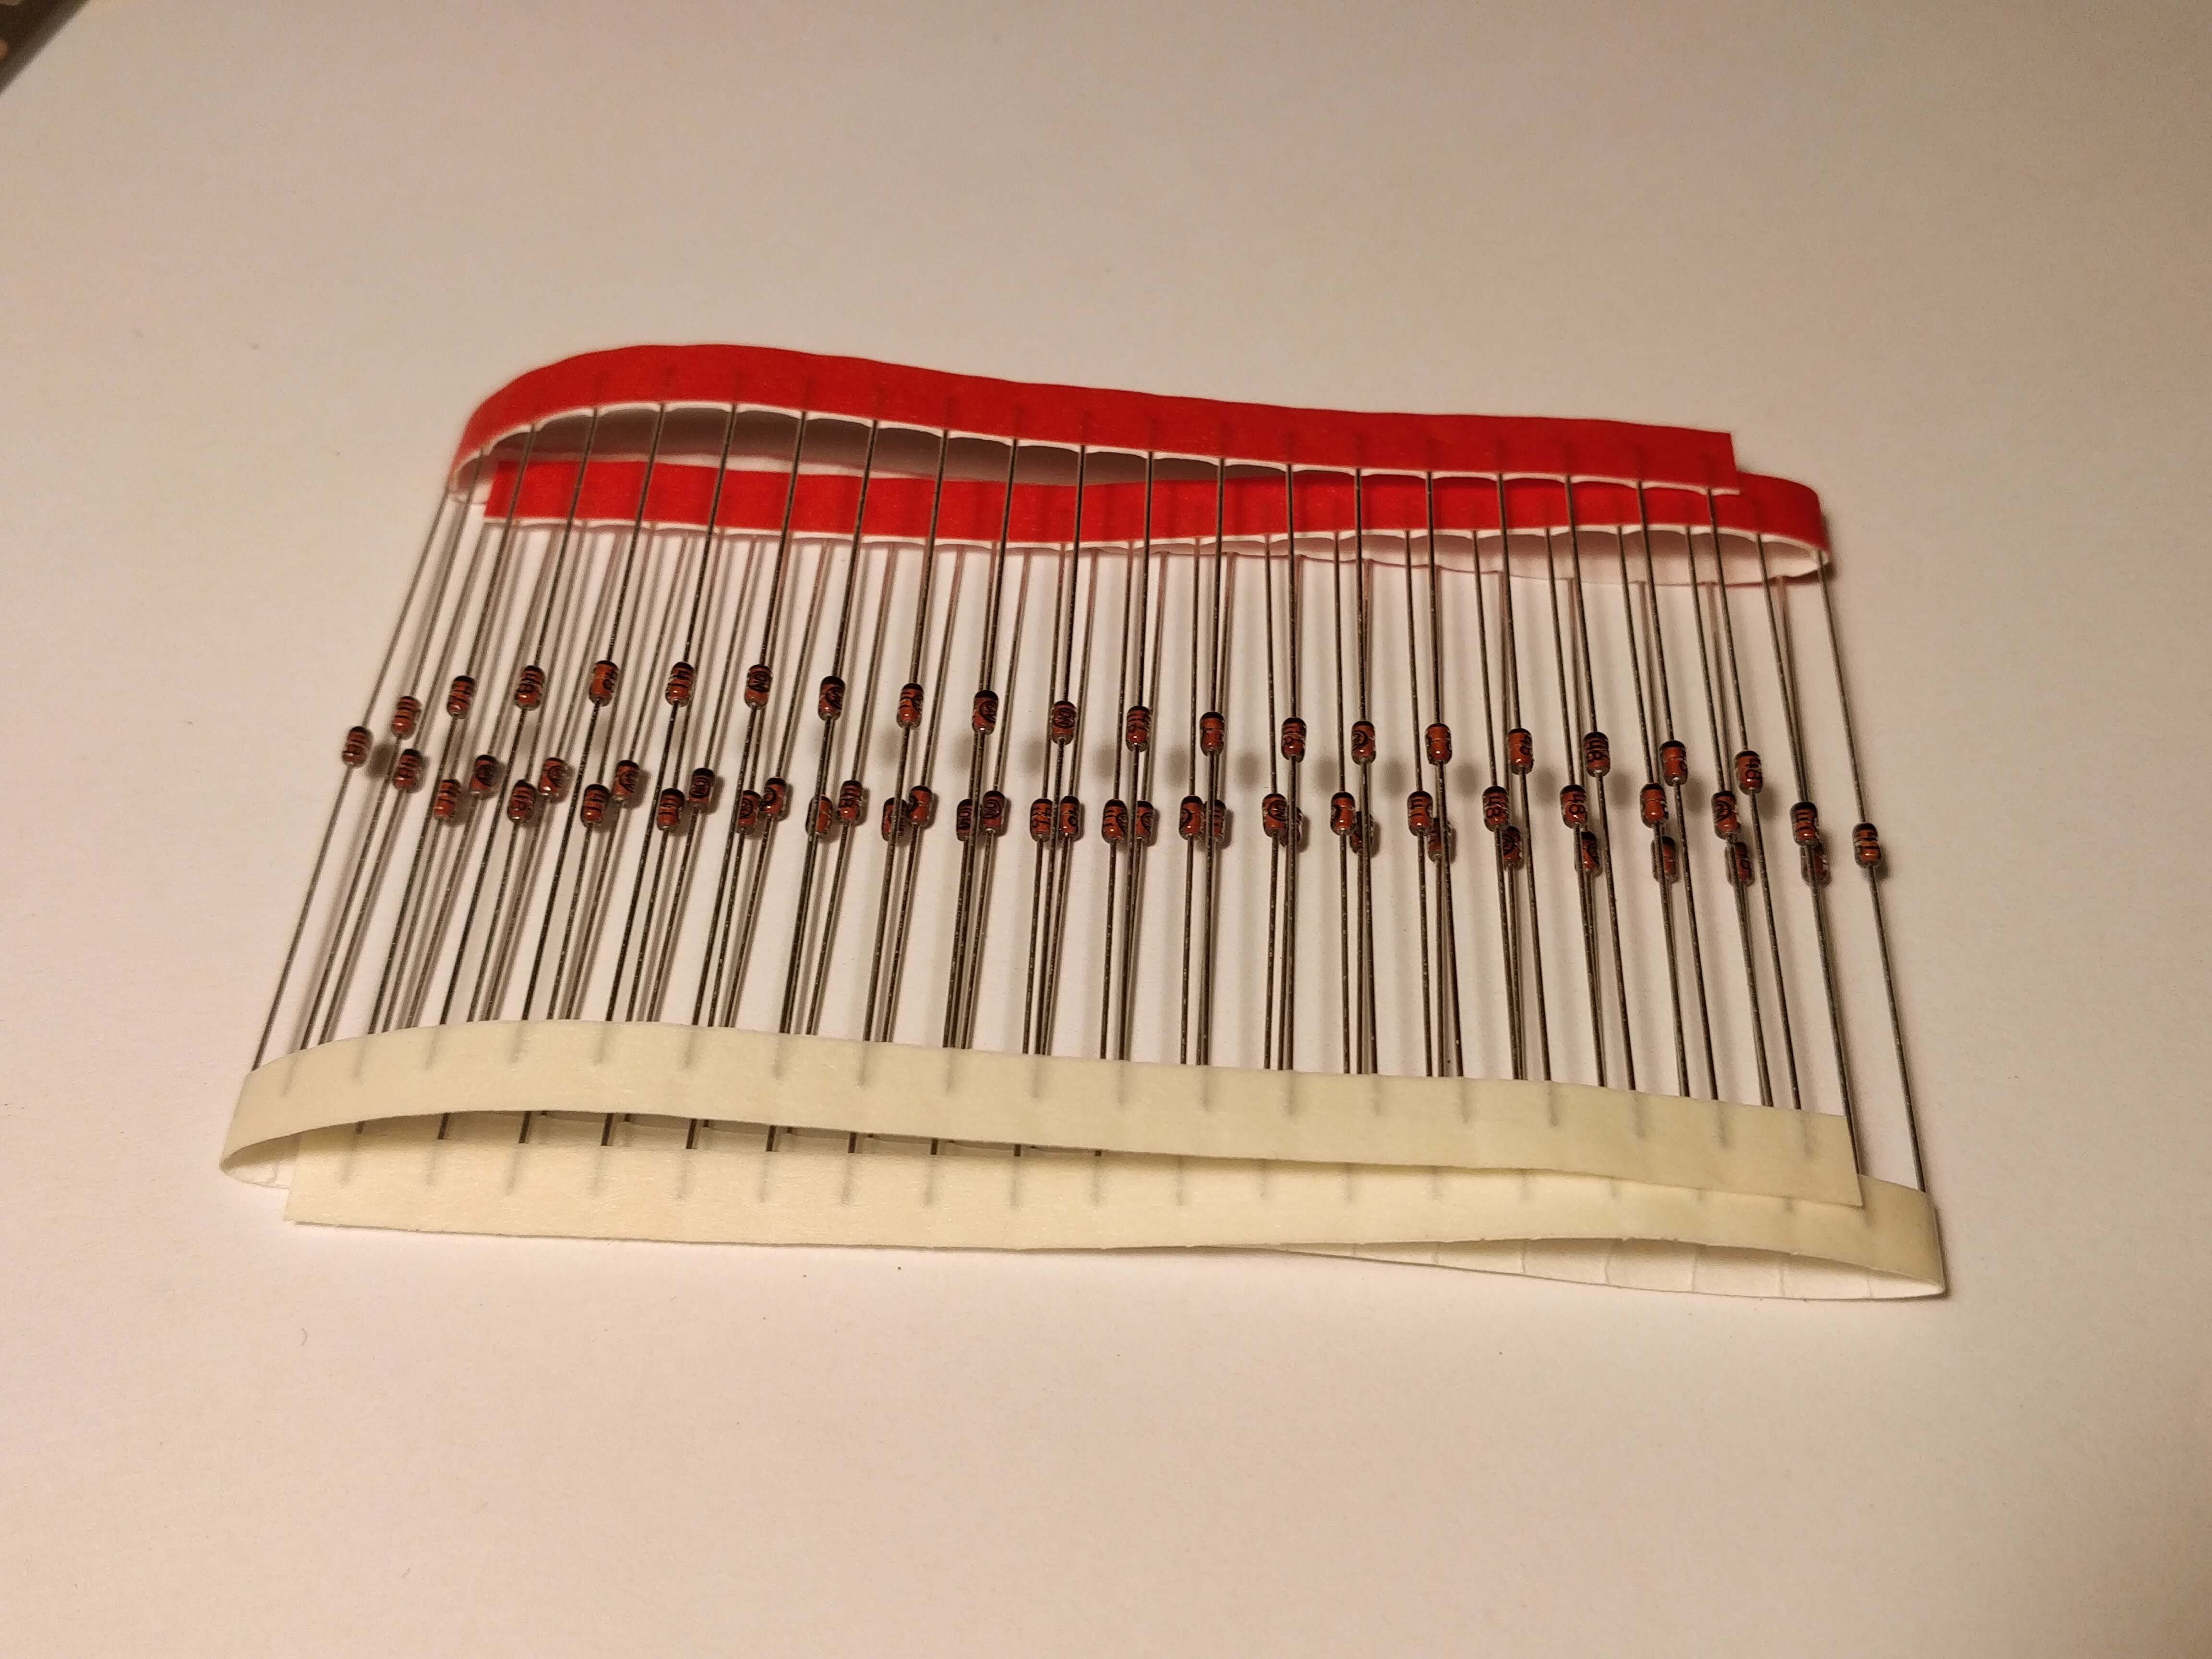
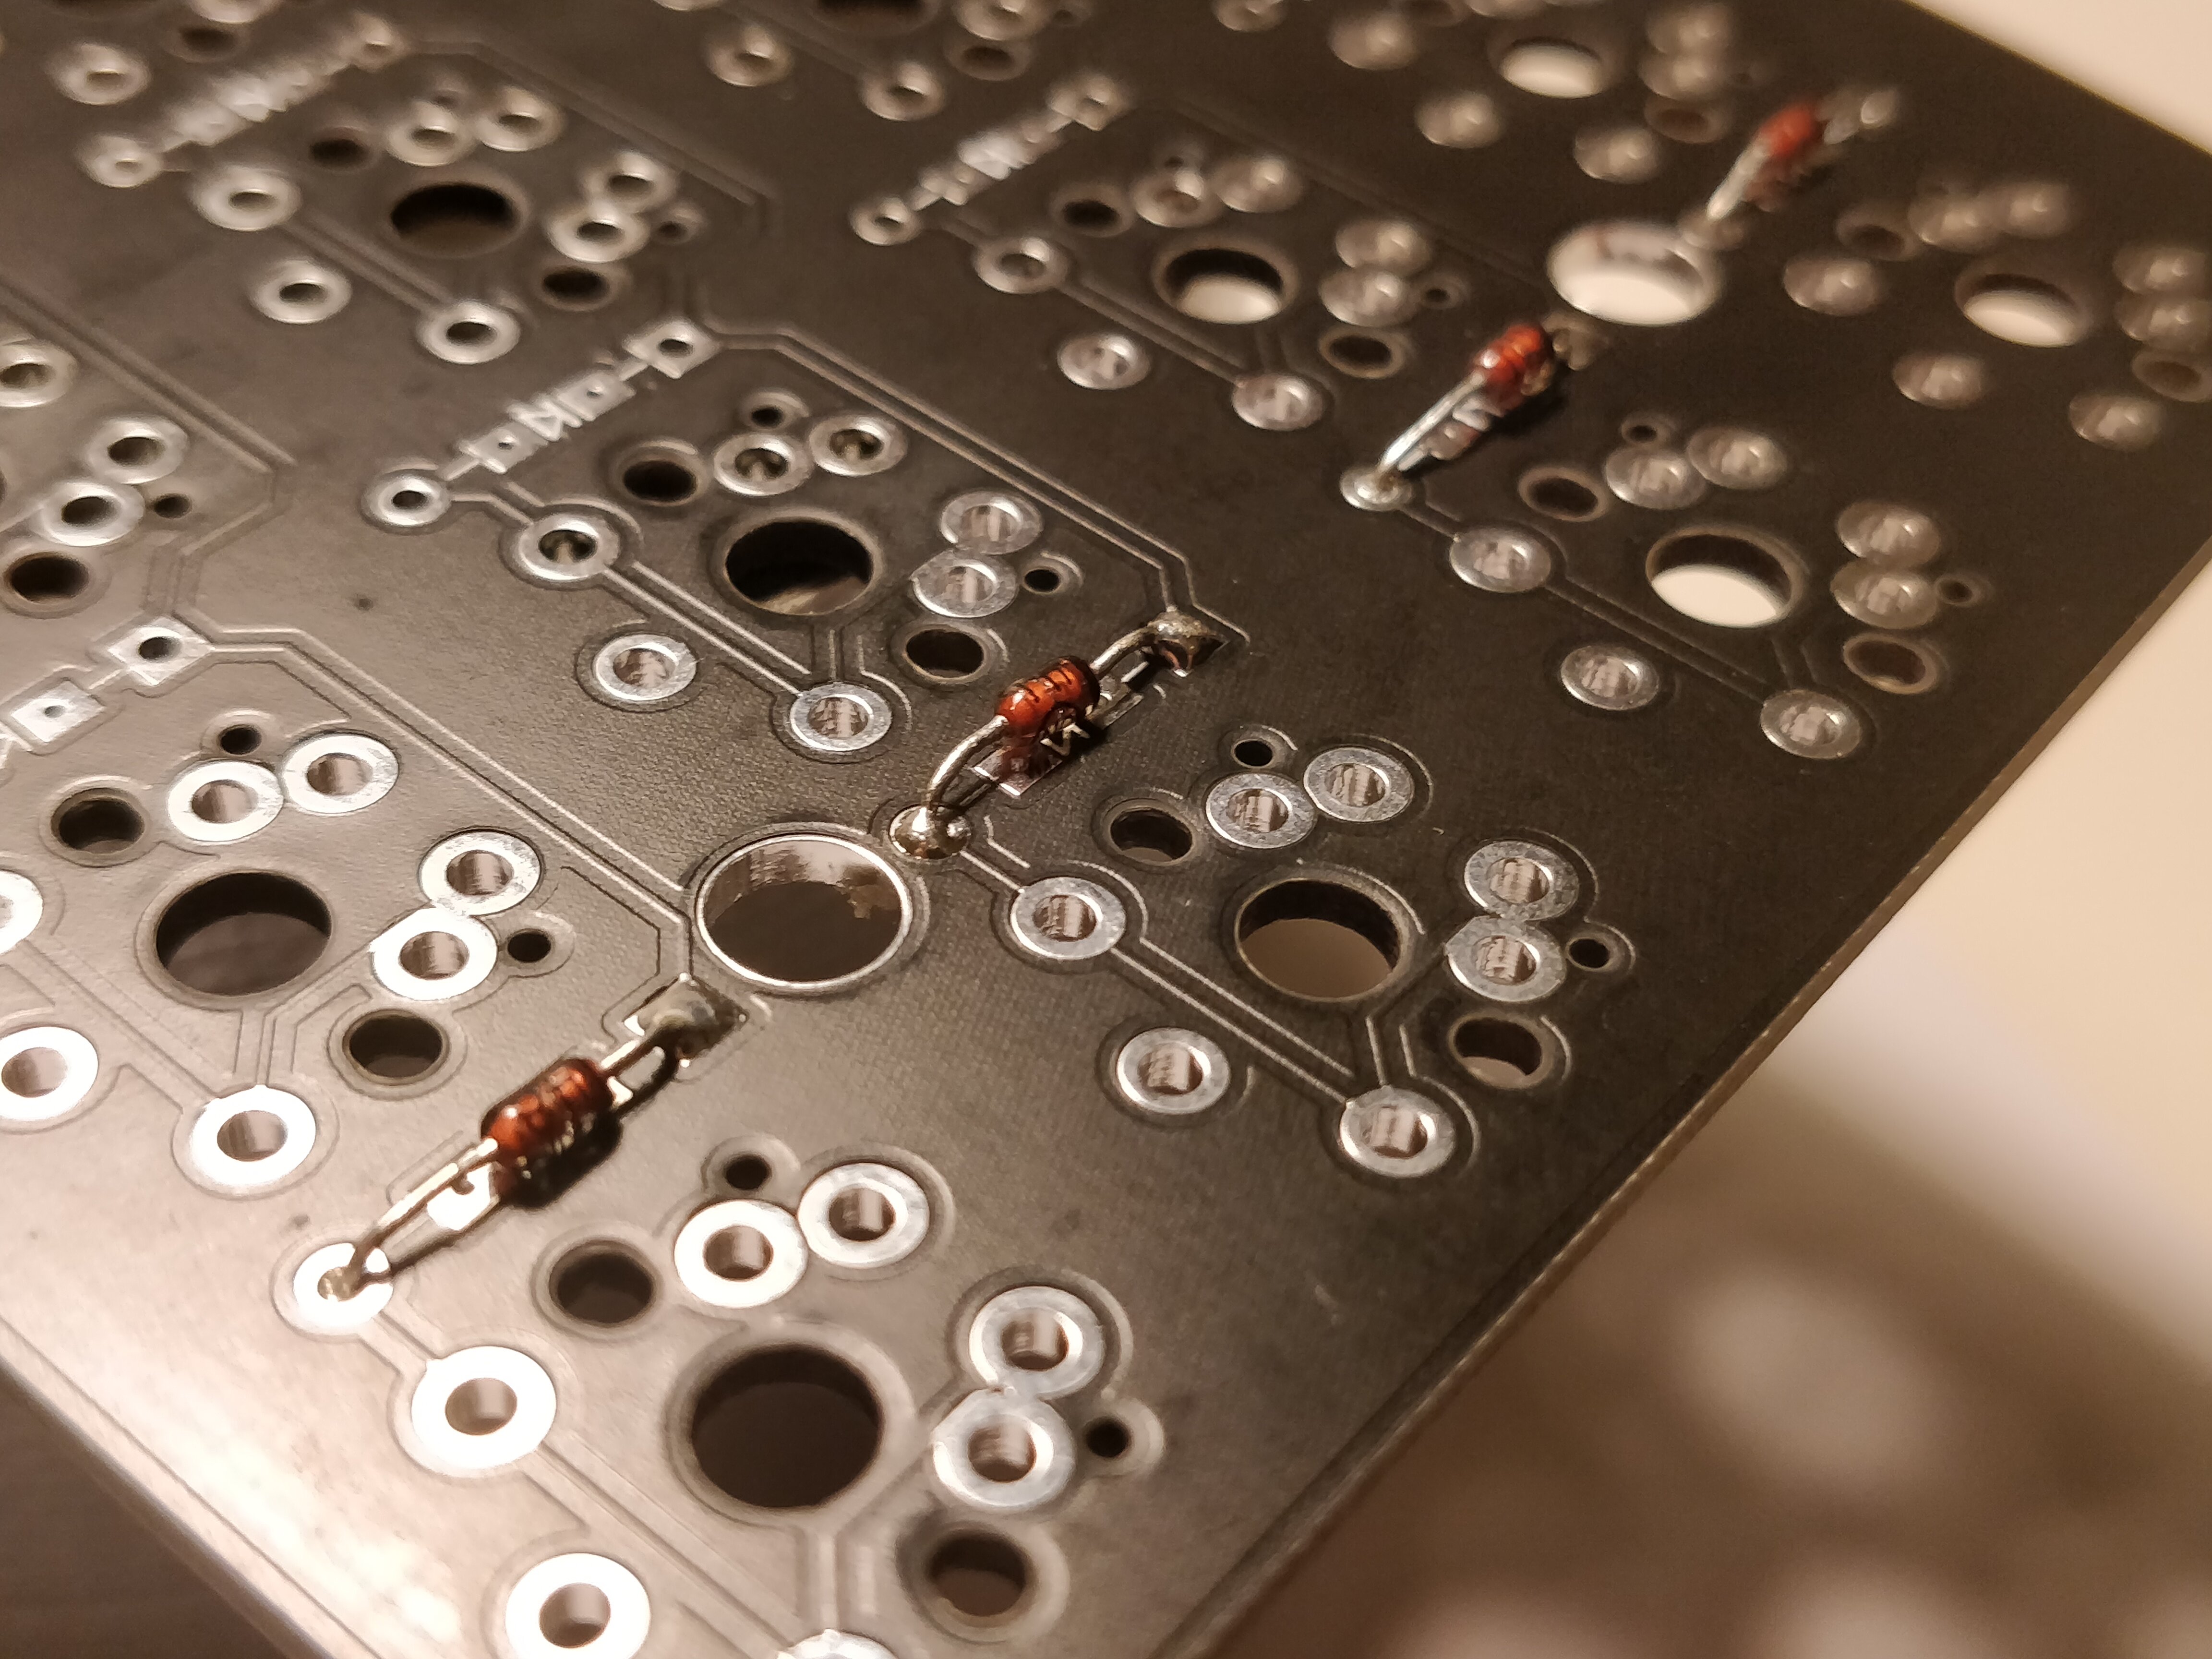
A lot of diodes
Microcontrollers
Two Arduino Pro Micro are needed, I got them on AliExpress because they were cheaper. One of them gave me problems, after I soldered it I realized the flashing didn’t work.
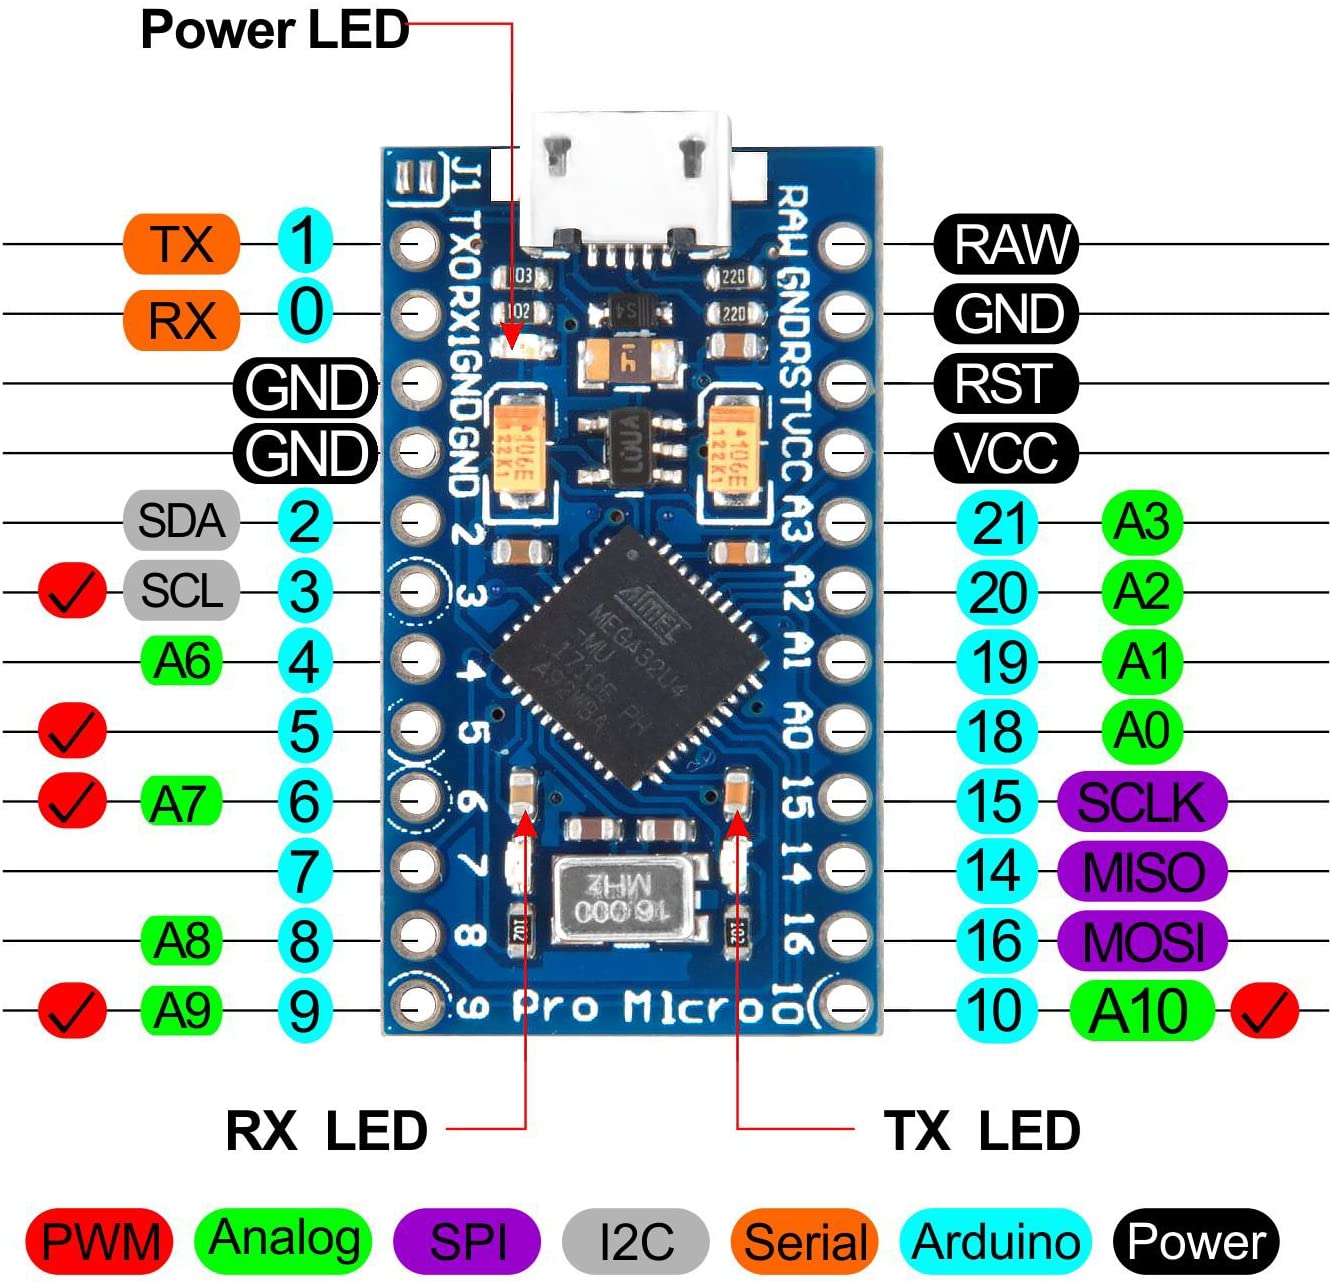
I’m a noob and this was a good lesson, next time I’ll flash both the microcontrollers before soldering them, however I don’t know if the Pro Micro was already broken or I damaged it during the soldering.
Display
The Lily58 supports two SSD1306 displays, since I broke one of them one of
them is useless because it only shows a static logo I used only one.
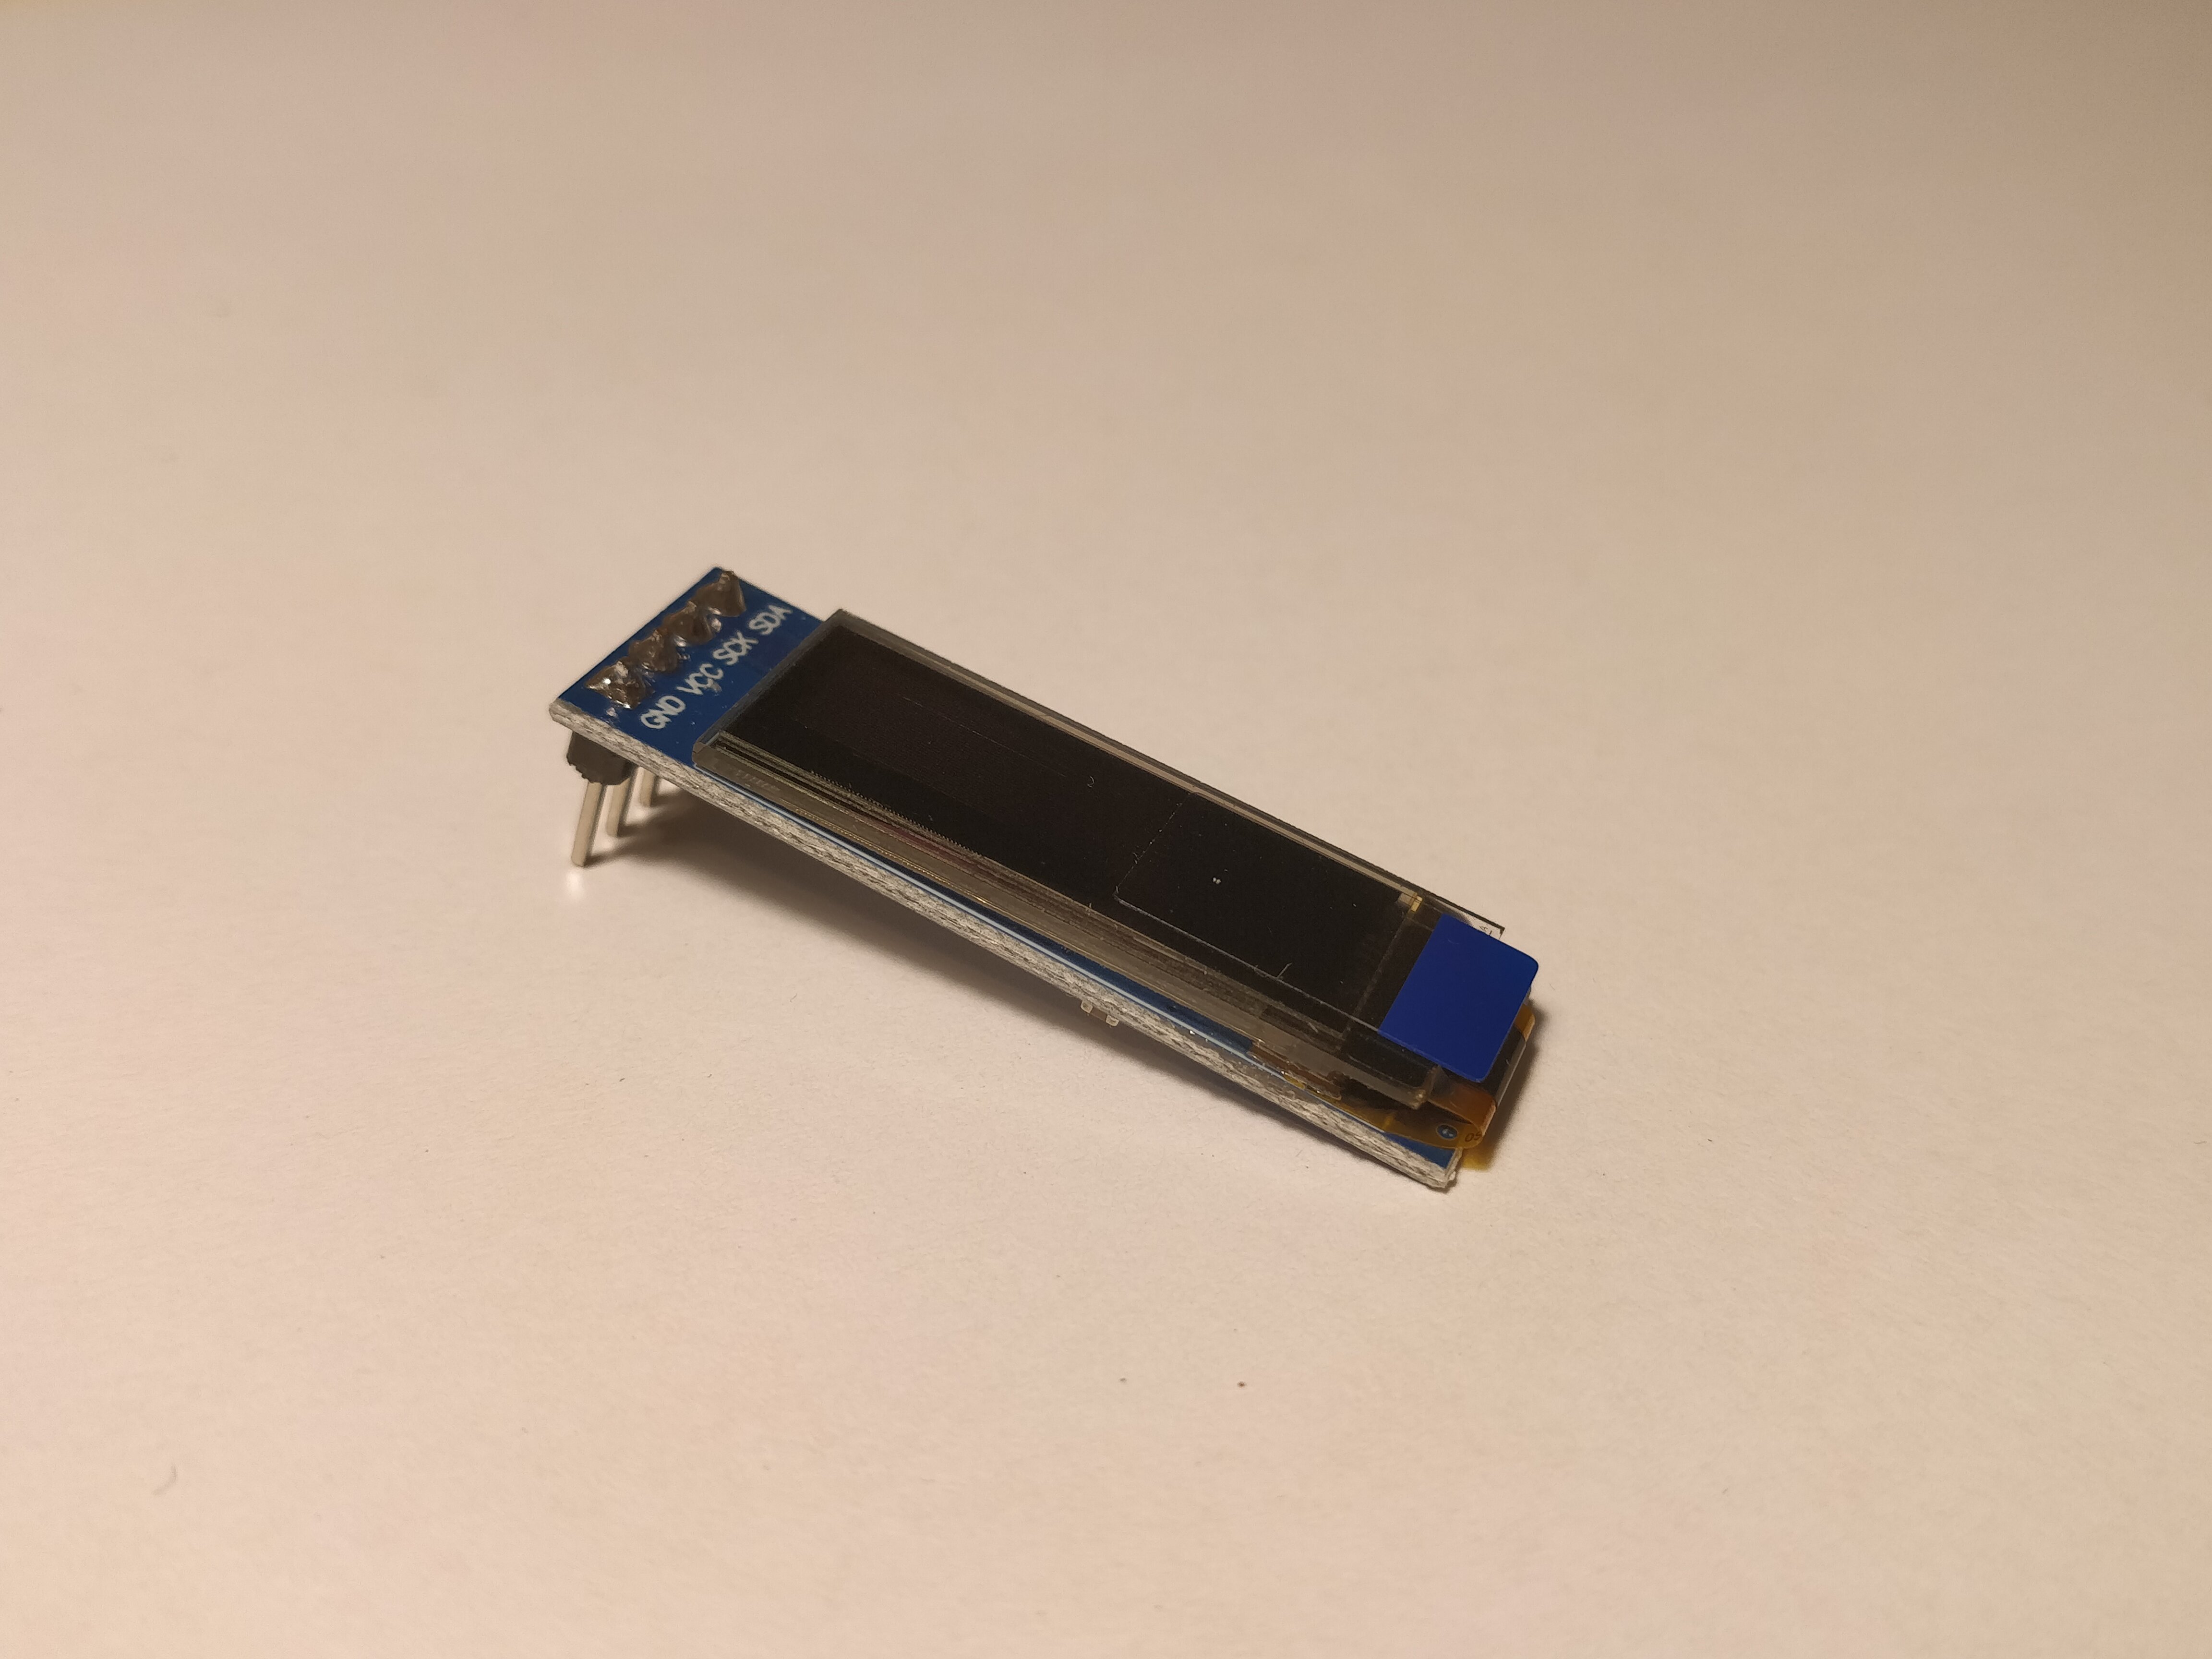
Considering the negligible cost (about 1 dollar from AliExpress) I think I’ll reuse this display in future projects.
Switches and caps
For this keyboard it’s important to pay attention to profile of the keycaps because of the exotic layout. My choice fell on blank keycaps with the XDA profile (all the caps are the same) so this wasn’t a problem.
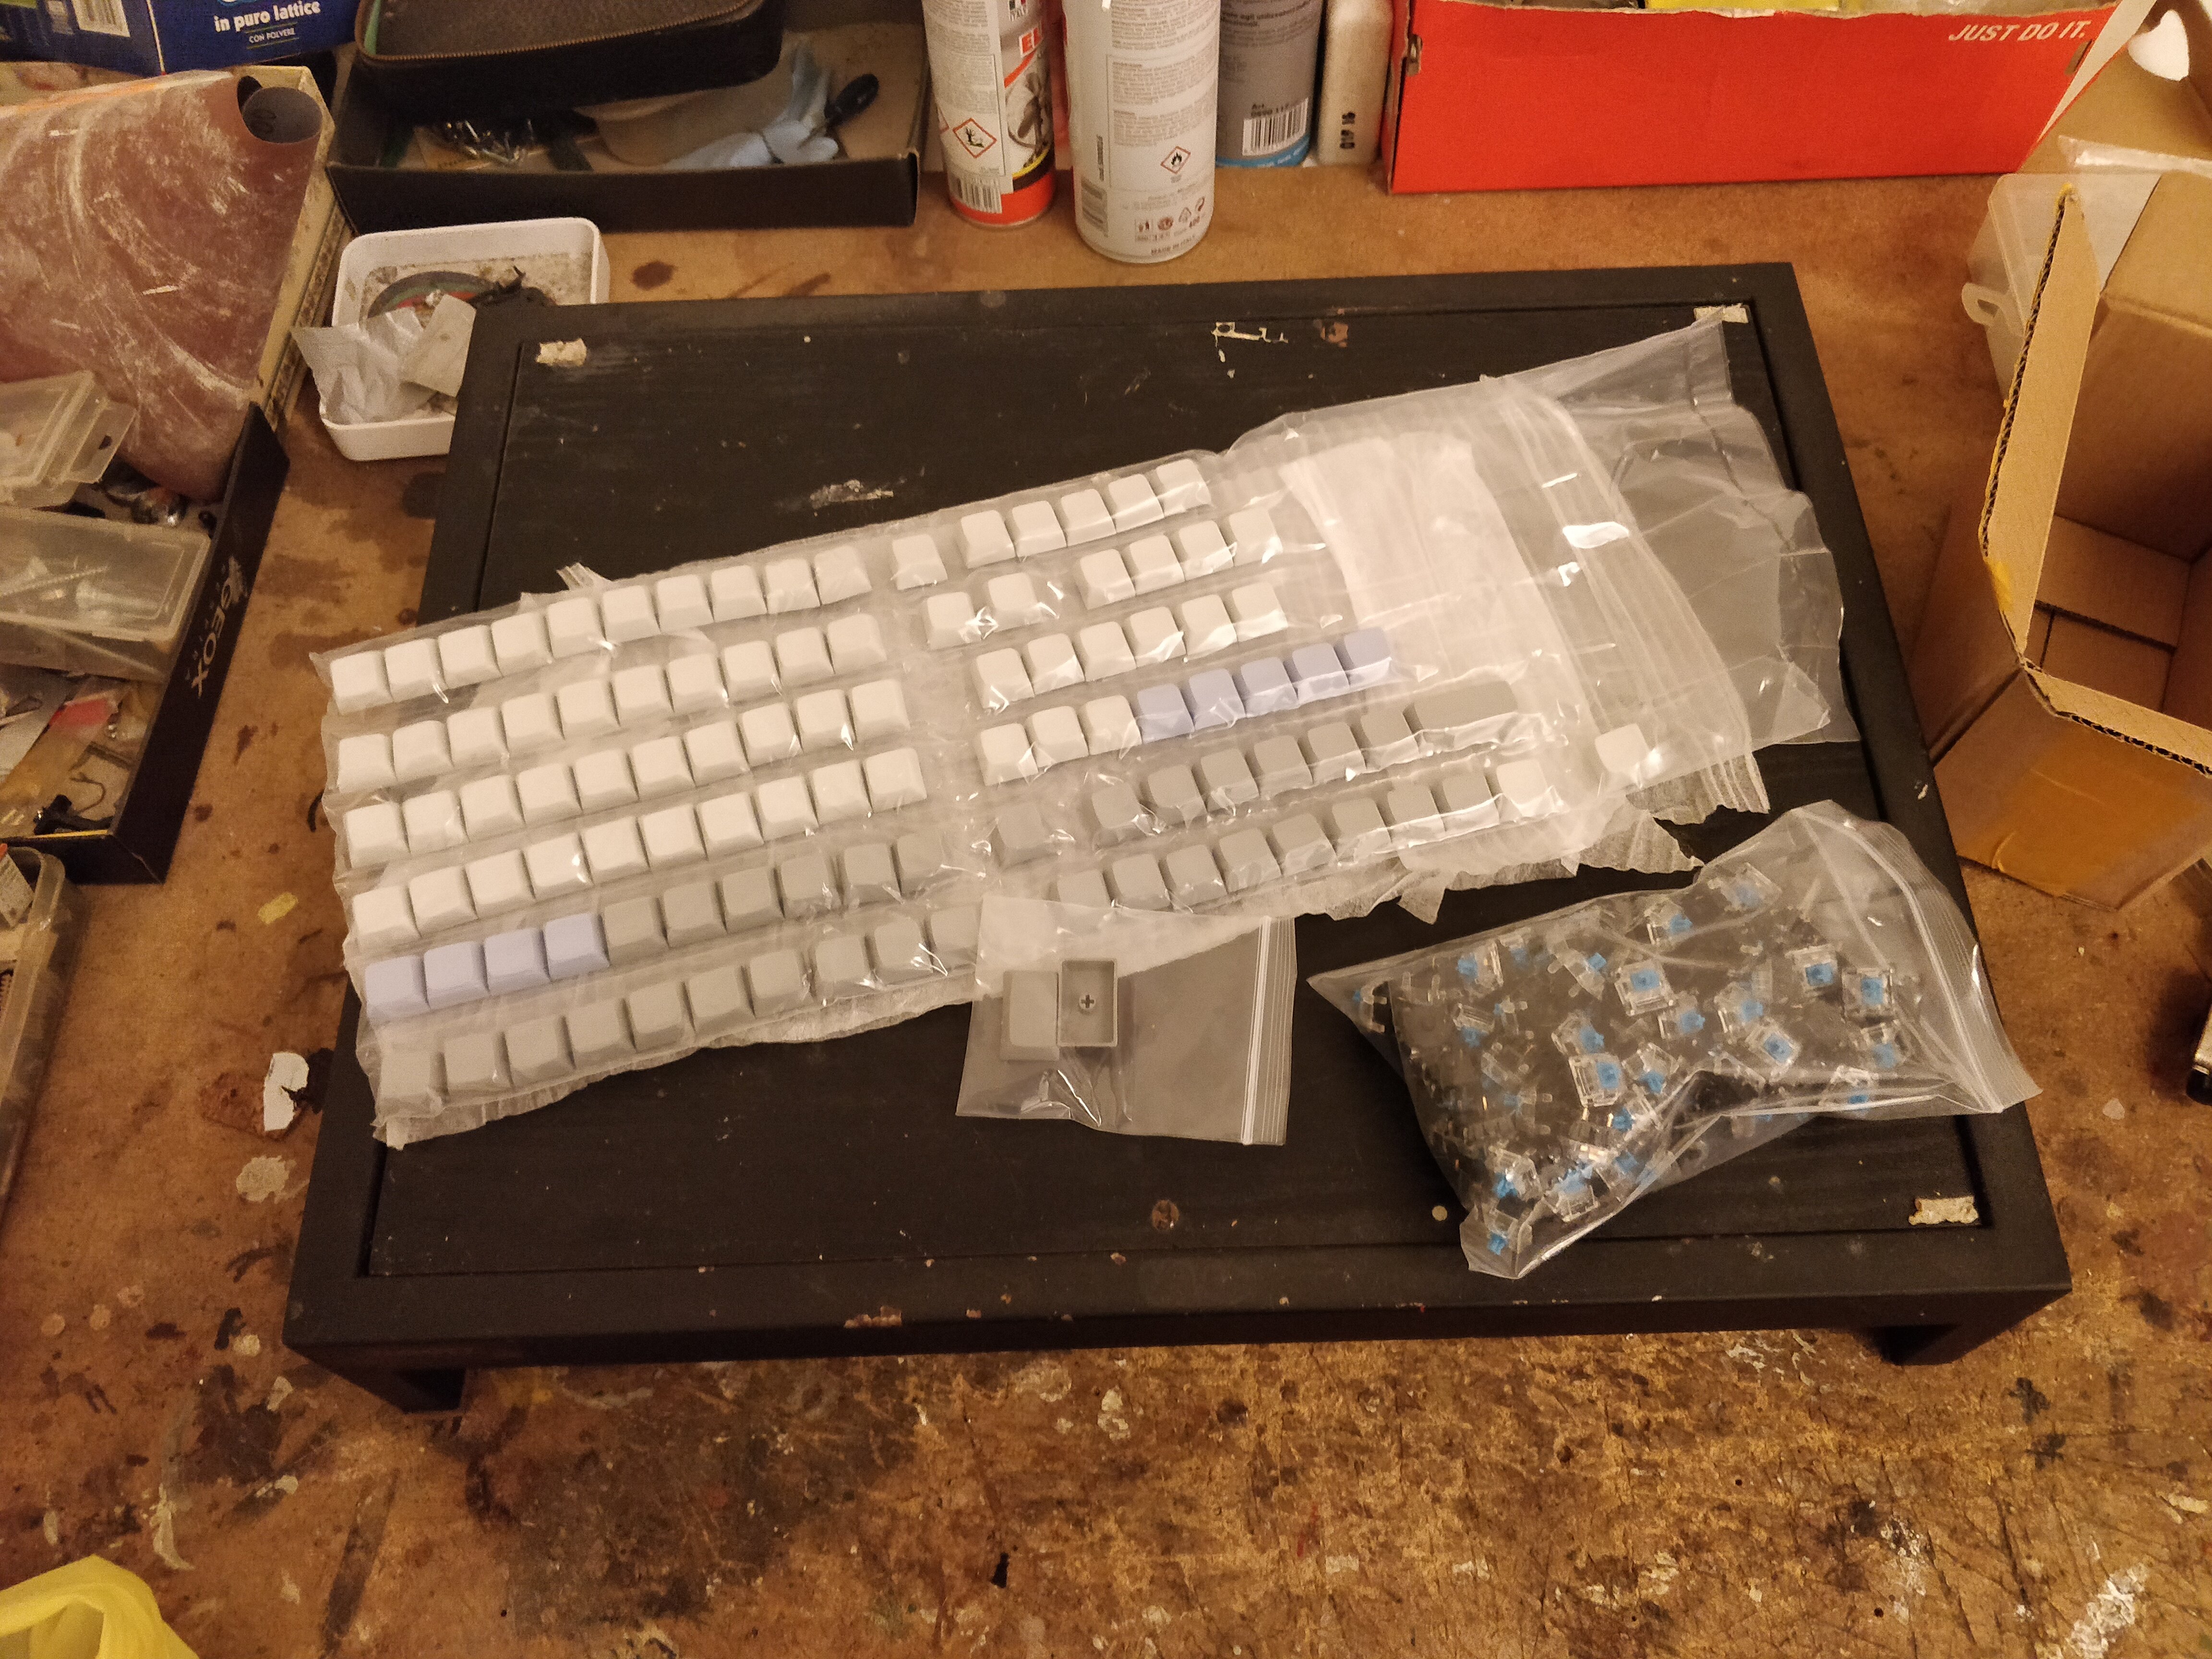
For the switches I chose the blue MX Gateron, I alredy tried them and I really liked the clicky feedback. Moreover they were quite cheap on AliExpress.
A sleepy watchdog
My trusty watchdog oversaw and certified the entire procedure.

Assembling
I followed this guide, even if I don’t speak japanese I was able to understand thanks to the numerous images.
The soldering was quite easy, I thought it would be more difficult, maybe the merit is of the PCB of excellent build quality.
Software
The official firmware uses QMK, since I consider useless the standard display usage (showing che current keyboard layer (a QMK thing to associate different keys to the same switch) and the latest typed characters) I forked it to add support for custom text messages using the HID protocol.
Then I created a simple utility to that sends messages to the keyboard, the idea was to integrate this utility with Emacs to show things like:
- the minibuffer
- the kill ring
- generic information about the system, like the temperature or the CPU/Memory/Disk/Network usage
- currently playing music (I use Mopidy so it’s easy with Emacs)
At the end I was able to to show a message from Emacs but I never implemented all the rest.
Final result
That’s all for now.